To make airbrush foundation at home, mix equal parts of moisturizer, foundation, and water in a container. Pour the mixture into an airbrush gun and spray evenly onto your skin.
Creating homemade airbrush foundation can be a fun and cost-effective alternative to store-bought options. By combining simple ingredients like moisturizer, foundation, and water, you can customize the perfect shade and consistency for your skin. Not only does this DIY approach allow for greater control over the ingredients, but it also ensures a personalized blend that caters to your specific skin type.
Whether you’re looking to achieve a natural, everyday look or a flawless, airbrushed finish for a special occasion, making your own airbrush foundation at home offers versatility and convenience. Let’s explore the step-by-step process of creating your customized airbrush foundation while saving money and reducing exposure to potential harmful additives.

Contents
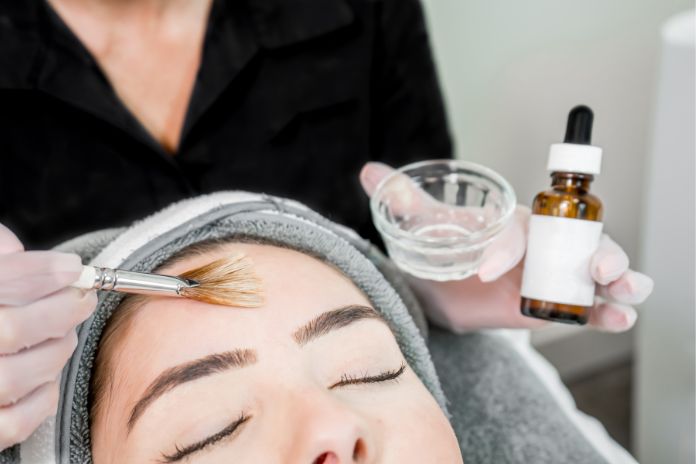
Understanding Airbrush Foundations
When it comes to achieving a flawless, airbrushed look, airbrush foundation is a game-changer. Understanding the basics of airbrush foundations is essential for anyone looking to master this makeup technique. From its benefits to the different types available, we delve into the fundamentals of airbrush foundations here.
What Is Airbrush Foundation?
Airbrush foundation is a type of makeup that is applied using an airbrush gun, resulting in an ultra-fine mist that provides seamless coverage. Unlike traditional makeup application methods, airbrush foundation allows for a lightweight, buildable, and natural-looking finish.
Benefits Of Using Airbrush Foundation
Using airbrush foundation offers several advantages, including its long-wearing formula that can withstand the demands of long days and special events. Additionally, its ability to provide a high-definition, camera-ready appearance makes it a go-to choice for professionals and enthusiasts alike.
Different Types Of Airbrush Foundations
Airbrush foundations come in various formulations, including water-based, silicone-based, and hybrid options. Each type caters to different skin types and needs, offering versatility and customizable coverage. Understanding the distinctions between the different types ensures the best match for individual preferences and skin requirements.
Essential Ingredients For Homemade Airbrush Foundation
Making your own airbrush foundation at home can be a fun and rewarding process. One of the first steps in creating your own airbrush foundation is to gather the essential ingredients. By understanding the key components and choosing the suitable ingredients, you can achieve a custom blend perfect for your skin. Let’s take a closer look at the essential ingredients for homemade airbrush foundation.
The Key Components
When it comes to creating your own airbrush foundation, the key components you will need to consider are the pigments, the base, and the additives. These components work together to achieve the perfect texture, coverage, and finish.
Choosing Suitable Ingredients
It’s essential to choose suitable ingredients for your homemade airbrush foundation. Look for high-quality pigments that can be mixed to match your exact skin tone. Opt for a lightweight and non-comedogenic base, such as a moisturizing liquid foundation or a water-based primer. When it comes to additives, consider natural oils for added hydration or emulsifiers to ensure the ingredients blend seamlessly.
Understanding Their Functions
Each ingredient plays a crucial role in the overall function of the airbrush foundation. The pigments provide the color and coverage, while the base serves as the texture and finish. Additives enhance the formula with hydration, longevity, and blendability.
Step-by-step Guide To Making Your Own Airbrush Foundation
When it comes to achieving a flawless makeup look, airbrush foundation has become a popular choice for its smooth and natural finish. Making your own airbrush foundation at home is not only cost-effective, but it also allows you to customize the shade and coverage according to your preferences. In this step-by-step guide, we will walk you through the process of creating your own airbrush foundation, ensuring a seamless and professional application every time.
Gathering The Necessary Tools
Before you begin the process of making your own airbrush foundation, it is essential to gather the necessary tools and ingredients. Here is a list of items you will need:
- Airbrush gun
- Air compressor
- Empty foundation bottle or container
- Foundation base (water-based or silicone-based)
- Pigments or colorants
- Measuring spoons
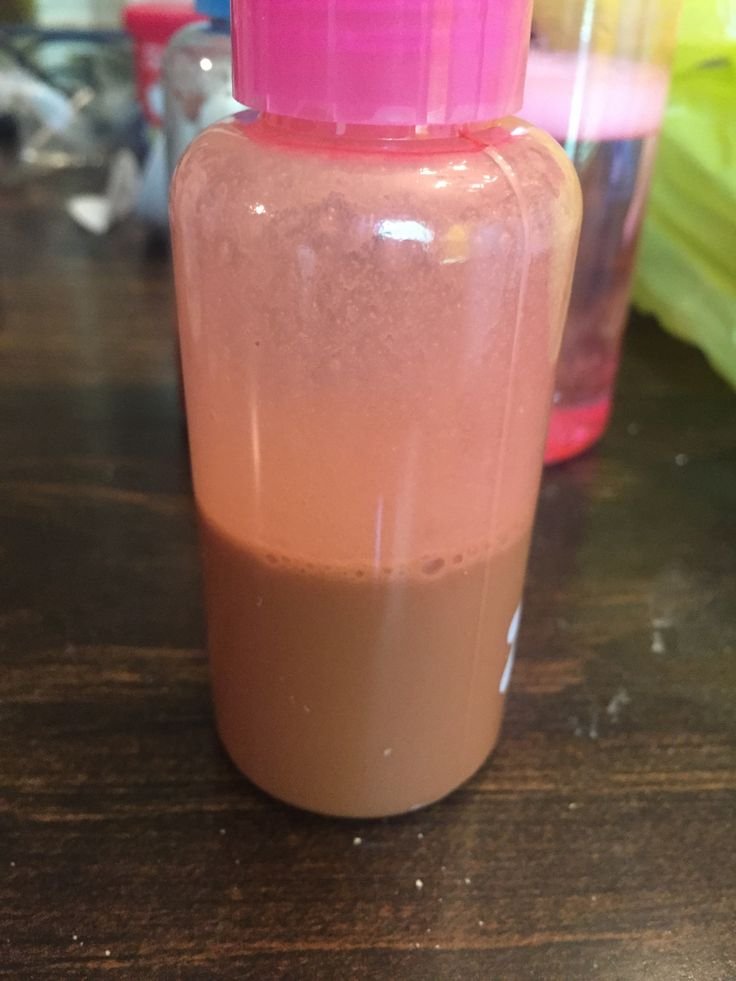
Mixing The Ingredients
Once you have all the required tools and ingredients, it’s time to start mixing the foundation. Follow these steps for a smooth blending process:
- Start by pouring the foundation base into the empty container.
- Using measuring spoons, add the desired amount of pigments or colorants to achieve the perfect shade.
- Gently mix the ingredients together using a stirring rod or spoon, ensuring they are thoroughly combined.
Achieving The Right Consistency
The key to a successful airbrush foundation lies in achieving the right consistency. Here are some tips to ensure your foundation is properly blended for airbrush application:
- Perform a test spray on a tissue or paper to check the consistency and adjust as needed.
- If the foundation is too thick, add a small amount of water-based or silicone-based foundation base to thin it out.
- For a more buildable coverage, adjust the pigment or colorant ratio to create a lighter or darker shade.
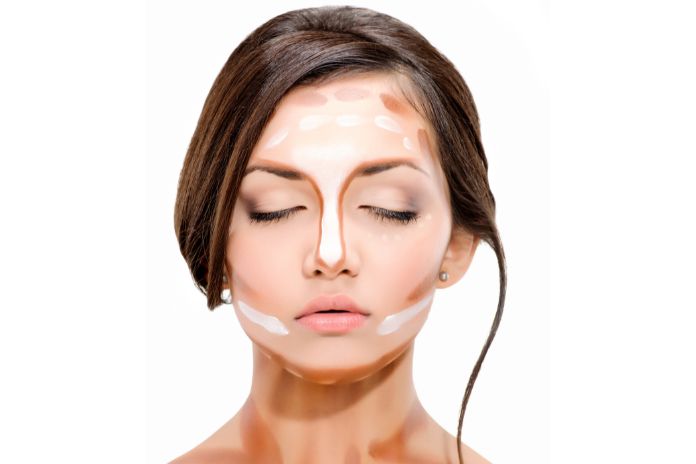
Customizing Your Homemade Airbrush Foundation
Customizing your homemade airbrush foundation allows you to tailor the coverage, finish, and ingredients to suit your skin type and preferences. By experimenting with various components, you can create a personalized foundation that perfectly meets your needs. Whether you want to adjust the coverage and finish, add specific ingredients for your skin type, or experiment with colors and tones, customizing your airbrush foundation gives you control over your makeup routine.
Adjusting Coverage And Finish
When customizing your homemade airbrush foundation, you can easily adjust the coverage and finish to achieve the desired look. By altering the ratio of ingredients such as foundation base, water, and moisturizer, you can create a lightweight, sheer coverage for a natural finish or increase the concentration of pigments for a more full coverage look. Experiment with different ratios to find the perfect balance that suits your preferences.
Adding Ingredients For Specific Skin Types
Customizing your airbrush foundation allows you to incorporate ingredients tailored to your specific skin type. For instance, if you have dry skin, adding a few drops of nourishing oils like argan or jojoba can help hydrate and plump the skin. For oily skin, incorporating a small amount of kaolin clay or silica powder can help control excess sebum. By customizing your foundation with ingredients suitable for your skin type, you can achieve a flawless complexion while addressing your individual skin concerns.
Experimenting With Colors And Tones
One of the key benefits of making your own airbrush foundation is the ability to experiment with colors and tones. Mixing different shades of foundation base along with pigment drops allows you to create a custom blend that perfectly matches your skin tone. Additionally, incorporating color correctors such as green for neutralizing redness or peach for brightening dark spots enables you to customize your foundation for a seamless, natural-looking finish.
Tips For Applying And Storing Homemade Airbrush Foundation
When it comes to achieving a flawless makeup look, airbrush foundation has become a popular choice for its seamless application and natural finish. Making your own airbrush foundation at home allows you to have complete control over the ingredients, ensuring a customized and tailored solution for your skin.
However, in order to achieve the best results and maximize the longevity and performance of your homemade airbrush foundation, it’s essential to consider the proper application techniques, storage, and shelf life, along with methods to enhance its overall performance. Let’s delve into some valuable tips for applying and storing homemade airbrush foundation.
Proper Application Techniques
When applying homemade airbrush foundation, it’s crucial to follow the correct application techniques to achieve a flawless finish. Start by shaking the foundation well to ensure that the ingredients are properly blended.
Hold the airbrush gun approximately six inches away from your face and apply the foundation in circular motions for even coverage. Start from the center of your face and gradually work your way outwards to avoid a heavy buildup of product. This technique will create a seamless and natural-looking complexion.
Storage And Shelf Life
Proper storage is key to maintaining the quality and longevity of your homemade airbrush foundation. Store it in a cool, dry place away from direct sunlight to prevent any changes in consistency or color.
Additionally, ensure that the bottle or container is tightly sealed to prevent air exposure, which can lead to contamination or the breakdown of ingredients. As for the shelf life, homemade airbrush foundation typically lasts for about six to nine months, but this may vary depending on the specific ingredients used. It’s important to monitor any changes in texture, smell, or color, as these may indicate that the foundation has expired.
Enhancing Longevity And Performance
To enhance the longevity and performance of your homemade airbrush foundation, consider adding natural preservatives such as vitamin E oil or essential oils like tea tree oil, which have antimicrobial properties. These additions not only extend the shelf life of the foundation but also provide skincare benefits.
Another way to improve its performance is to clean your airbrush gun regularly to prevent clogging and ensure a smooth application. Additionally, invest in a quality airbrush compressor to maintain consistent pressure and airflow, which ultimately enhances the overall performance of the foundation.
Frequently Asked Questions
What Are The Benefits Of Airbrush Foundation?
Airbrush foundation provides flawless coverage, is long-lasting, and gives a natural-looking finish.
How Can I Customize The Coverage Of Airbrush Foundation?
You can customize the coverage by adjusting the air pressure and nozzle size of the airbrush makeup system.
Is It Possible To Make Airbrush Foundation At Home?
Yes, you can create your own airbrush foundation at home using a few simple ingredients and tools.
What Ingredients Are Typically Used To Make Airbrush Foundation?
Common ingredients for DIY airbrush foundation include mineral makeup, moisturizer, and distilled water.
Can Airbrush Foundation Be Used On All Skin Types?
Airbrush foundation is versatile and can be used on all skin types, including oily, dry, and sensitive skin.
Conclusion
To sum up, making airbrush foundation at home is simple and cost-effective. By following the steps outlined in this guide, you can create a personalized foundation that suits your skin type and tone. With some practice, you’ll master the art of airbrushing, and achieve professional-looking results in the comfort of your own home.
Start creating your perfect foundation today!