Airbrush makeup gives you that impossibly smooth, pore-blurring finish you see on brides and red carpet looks — but the machine itself costs hundreds of dollars and takes real practice to use. The good news? You can get a convincingly similar result without one, using tools you probably already own.
Here’s exactly how it works, what products to use, and the application technique that gets you closest to that airbrushed finish.
What Makes Airbrush Makeup Different
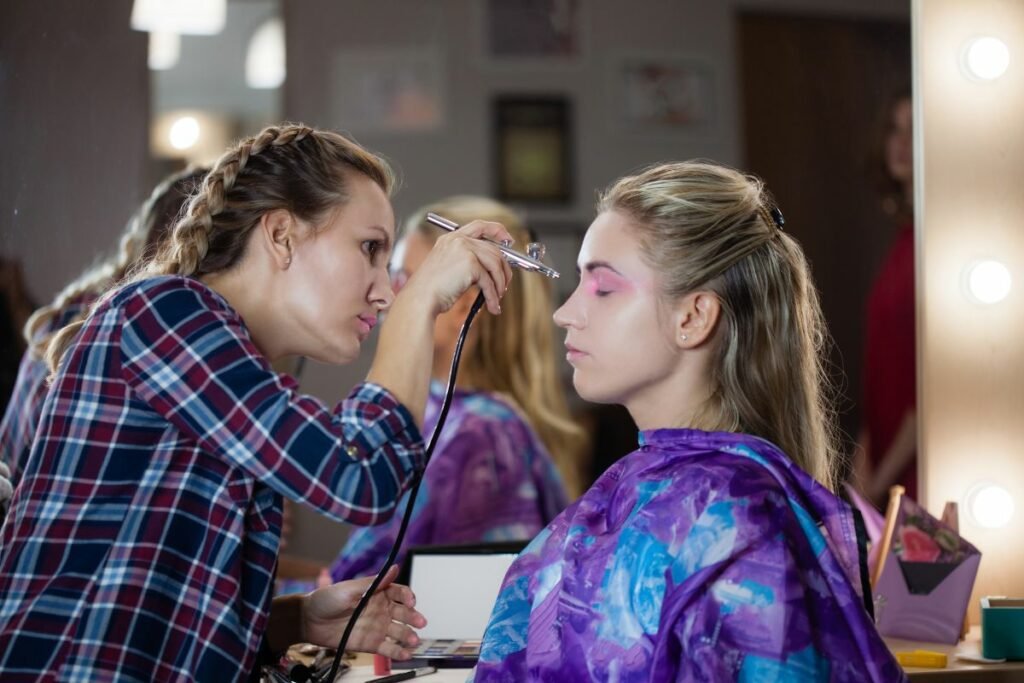
Airbrush makeup is a specially formulated liquid that gets sprayed onto the skin in an ultra-fine mist using a compressed air gun. Because the droplets are so tiny, they sit on top of the skin in an impossibly thin, even layer — no brush strokes, no streaks, no visible texture.
The result is full coverage that somehow looks like you’re wearing nothing at all. It’s lightweight, long-lasting, and blurs pores and fine lines better than almost any traditional foundation.
The formula itself — usually silicone-based or water-based — is what makes it special. And that formula doesn’t actually require a machine to work. What it needs is the right application technique.
Can You Really Get the Same Result Without a Machine?
Close — but not identical. The machine creates a level of seamlessness that’s genuinely hard to fully replicate by hand. But with the right tools and technique, you can get results that look airbrushed to anyone who doesn’t know what they’re looking at. For everyday wear, events, and even photography, the manual application method works extremely well.
The key is in how you apply it, not just what you’re applying.
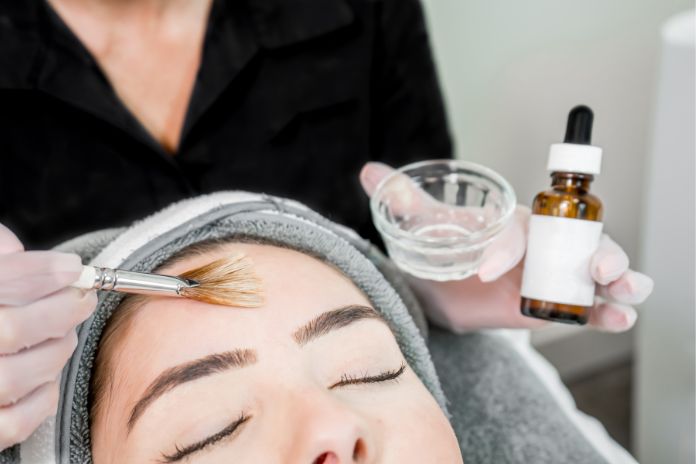
The Best Tools to Use
Damp Beauty Sponge
This is the closest manual equivalent to an airbrush. A damp beauty sponge — like a Beautyblender — applies foundation in a stippling, bouncing motion that presses product into the skin rather than dragging it across. The result is a soft-focus, skin-like finish with no streaks.
Always dampen the sponge first. A dry sponge absorbs too much product and gives patchy, uneven coverage. A damp sponge distributes the formula in a thin, even layer exactly the way an airbrush does.
Flat-Topped Kabuki Brush
A dense, flat-topped kabuki brush is the second best option. Use it in small, circular buffing motions to work the product into the skin. This technique builds coverage gradually without depositing too much product at once — which is exactly the layering approach airbrush makeup is known for.
Dense Blending Brush
For more targeted coverage — around the nose, under the eyes, on blemishes — a smaller dense blending brush gives you more precision than a sponge. Use the same stippling or buffing motion rather than sweeping strokes.
What doesn’t work well: flat foundation brushes used in sweeping motions. These leave visible brush marks and don’t create the seamless finish you’re going for.
The Best Products to Use
Not every foundation works for this technique. You need formulas that are thin enough to build in layers without getting cakey.
Silicone-based foundations are the closest match to actual airbrush formula. They blend smoothly, feel weightless on the skin, and layer beautifully. Look for foundations described as “satin,” “skin-like,” or “serum foundation.”
Water-based foundations are the second best option — especially if you have oily or acne-prone skin. They’re lightweight and buildable, and they work well with a damp sponge.
What to avoid: thick, full-coverage matte foundations. These are too heavy for the thin-layer approach that makes airbrushed makeup look natural. If you need heavy coverage, build it gradually with a lighter formula rather than starting with a dense one.
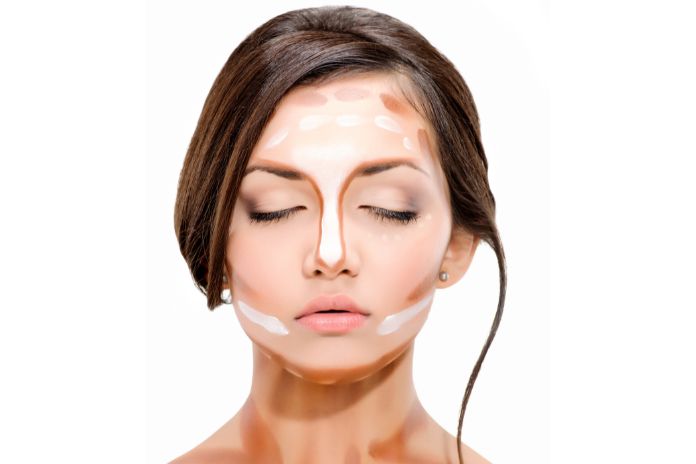
Step-by-Step: How to Apply Airbrush Makeup Without a Machine
Step 1: Prep your skin
Clean, moisturized skin is the foundation of any airbrushed finish. Apply a lightweight moisturizer and let it absorb fully. If your skin is oily, use an oil-free primer. If your skin is dry, a hydrating primer will prevent the foundation from clinging to dry patches.
Primer is especially important here — it creates the smooth surface that lets you build thin, even layers without the formula grabbing onto texture.
Step 2: Start with less product than you think you need
Put a small amount of foundation — less than you’d normally use — onto the back of your hand. You can always add more. The whole point of the airbrush technique is building thin layers, not applying one thick coat.
Step 3: Apply with a stippling or buffing motion
Dip your damp sponge or brush lightly into the product and begin applying to the center of your face, working outward. Use a stippling motion (bouncing the sponge) or small circular buffing motions (with a brush).
Never drag or swipe. Dragging deposits too much product in one pass and leaves streaks.
Step 4: Build coverage in layers
Let the first layer settle for a few seconds, then assess where you need more coverage. Apply a second thin layer only where needed — over blemishes, redness, or uneven areas. This layered approach is exactly what makes airbrushed makeup look natural instead of heavy.
Step 5: Blend the edges
Pay particular attention to the hairline, jawline, and around the nose. These are the spots where foundation most commonly looks obvious. Blend thoroughly until there’s no visible line between the foundation and your bare skin.
Step 6: Set with translucent powder
A light dusting of translucent setting powder locks the foundation in place and removes any remaining shine. Use a fluffy brush and apply with a pressing motion rather than sweeping, which can disturb the layers you just built.
Step 7: Finish with a setting spray
A setting spray is the final step that makes everything look skin-like rather than powdery. Hold it 8–10 inches from your face and mist lightly. This softens the powder and gives the whole finish a fresh, natural glow — much closer to the actual airbrush look.
Airbrush Makeup vs. Traditional Makeup: What’s the Actual Difference?
| Airbrush (machine) | Airbrush formula by hand | Traditional foundation | |
|---|---|---|---|
| Finish | Ultra-seamless | Very smooth | Varies |
| Coverage | Buildable | Buildable | Buildable |
| Weight | Feather-light | Light | Light to heavy |
| Longevity | Longest | Long | Moderate |
| Learning curve | High | Moderate | Low |
| Cost | High | Low | Low |
The manual method lands solidly between machine airbrush and traditional makeup — better finish than most standard foundations, without the equipment cost or learning curve of a real airbrush machine.
Pros and Cons of Going Airbrush Formula Without the Machine
What works in your favor:
- No machine to buy, clean, or maintain
- Use tools you already own
- More control over targeted coverage than a spray gun gives you
- Easier to carry and touch up throughout the day
- Works with a wider range of foundation formulas
What you’re giving up:
- The absolute seamlessness of true airbrushing is hard to replicate by hand
- More time-consuming than a machine for full-face application
- Takes practice to get the layering technique right
For most people doing their own makeup at home, the manual method is the smarter choice — you get 85% of the result without any of the equipment cost or learning curve.
FAQs
Is airbrush makeup good for everyday wear? Yes. Despite its reputation as a special-occasion product, airbrush formula is lightweight enough for everyday use. The thin, buildable coverage actually makes it more comfortable for daily wear than many heavier traditional foundations.
Can I use airbrush makeup on oily skin without a machine? Yes — water-based airbrush formulas work especially well on oily skin. Apply with a damp sponge, set with a mattifying translucent powder, and finish with a matte setting spray to control shine throughout the day.
What’s the difference between silicone-based and water-based airbrush makeup? Silicone-based formulas give a smoother, more blurring finish and tend to last longer. Water-based formulas are better for oily or acne-prone skin and feel lighter. For hand application, both work well — it comes down to your skin type.
Can I use regular foundation with airbrush techniques? Yes, and many people do. Thin, fluid foundations — serums, skin tints, or lightweight liquid formulas — respond well to the stippling and buffing technique. The technique matters more than using an actual airbrush-specific formula, though airbrush formulas do give a slightly more polished result.
Does airbrush makeup look good in photos? It photographs beautifully. The thin, even layers don’t catch light the way heavier foundations can, which means it looks natural in both photos and in person. This is why it’s been the go-to for weddings and professional photography for years.