To fix an airbrush, start by disassembling and cleaning the nozzle and needle. Then, check for clogs in the airbrush and clear them out.
Airbrushes are essential tools for artists and hobbyists, but they can sometimes encounter issues that require fixing. Whether it’s a clogged nozzle or a faulty trigger, knowing how to troubleshoot and repair your airbrush can save you time and money.
We’ll discuss the common problems that can arise with airbrushes and provide step-by-step instructions on how to fix them. By following these simple tips and techniques, you’ll be able to keep your airbrush in top working condition and ensure that it delivers flawless results every time you use it. Let’s dive in and learn how to fix an airbrush like a pro!
Contents
Understanding Airbrush Basics
Understanding the basics of airbrushing is essential for anyone who wants to master this versatile tool. Whether you’re a hobbyist, makeup artist, or automotive painter, having a clear grasp of how airbrushes work and the different types available is crucial. In this section, we’ll delve into the fundamental concepts of airbrushing to give you a solid foundation for mastering this art form.
How An Airbrush Works
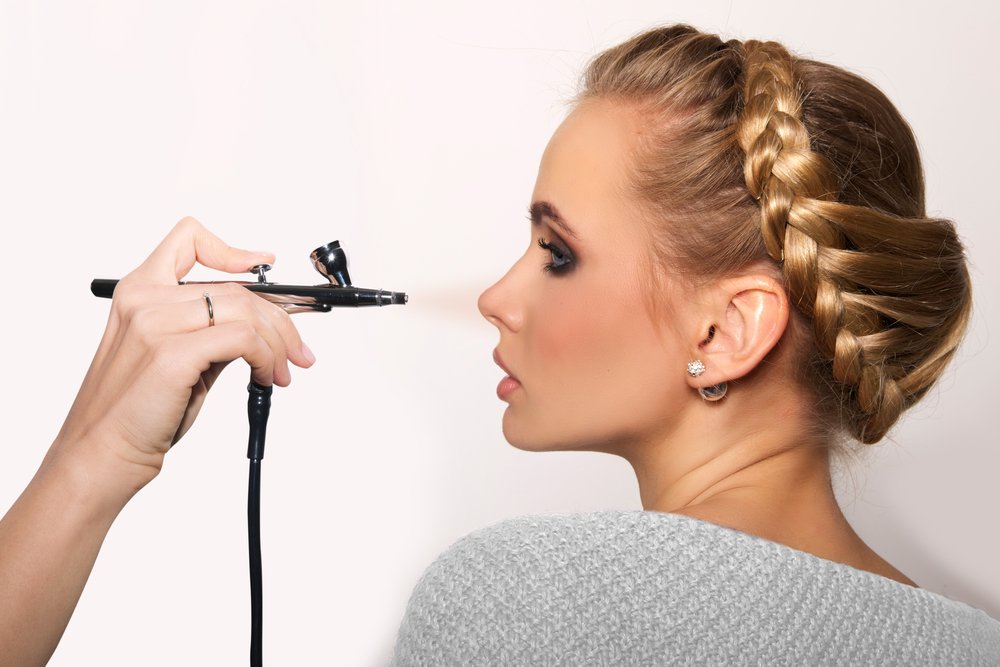
An airbrush is a tool that uses compressed air to spray paint or pigment onto a surface. The basic components of an airbrush include the air compressor, airbrush gun, and a container for the paint or pigment. When the trigger on the airbrush gun is pressed, it releases a controlled amount of air and paint, allowing for precise and controlled application. This method provides a smooth, even layer of color, making it ideal for creating gradients, details, and fine lines.
Types Of Airbrushes
There are primarily three types of airbrushes: single action, dual action, and gravity feed. Single action airbrushes require the user to press down on the trigger to release a constant flow of paint, making them suitable for simple, uniform applications. Dual action airbrushes, on the other hand, allow for both air and paint flow to be controlled independently, offering greater precision and versatility. Gravity feed airbrushes have a paint cup on top of the airbrush, allowing for a more efficient use of paint and facilitating easy color changes.
Identifying Common Airbrush Problems
Ensuring your airbrush is functioning optimally requires identifying common issues that may arise. Below are some common airbrush problems and the steps to fix them.
Airbrush Clogging
If your airbrush is experiencing clogging, it may result in uneven or inconsistent spray patterns. This issue commonly occurs when paint or other substances dry within the airbrush nozzle or needle. To fix this problem, carefully disassemble the airbrush and soak the nozzle and needle in a cleaning solution to dissolve the built-up residue. Additionally, wiping the needle and nozzle with a soft cloth can help to remove any remaining obstruction.
Uneven Spray Pattern
An uneven spray pattern is typically caused by an improperly adjusted airbrush. To rectify this problem, start by ensuring that the air pressure is at the appropriate level for the specific type of paint being used. Additionally, carefully inspect the needle and nozzle for any obstructions or damage that may be affecting the spray pattern. Cleaning or replacing these components as needed can restore a smooth and consistent spray pattern.
Spattering
Spattering can occur when airbrush paint is not properly atomized, resulting in undesired splatters and droplets. This issue is often related to inadequate air pressure, improper paint viscosity, or a clogged nozzle. Adjusting the air pressure and thinning the paint to the correct consistency can help to mitigate spattering. Additionally, cleaning the airbrush components thoroughly can eliminate any blockages that contribute to this problem.
Tools Needed For Airbrush Repair
When it comes to fixing an airbrush, having the right tools on hand is essential for a successful repair. Ensuring that you have the necessary equipment will make the process smoother and more efficient, allowing you to diagnose and solve any issues with your airbrush effectively. Let’s take a look at the tools you’ll need for airbrush repair.
Cleaning Brushes
Keeping your airbrush clean is crucial for maintaining its performance. Here are the essential cleaning brushes you’ll need:
- Small cleaning brush for removing paint residue from the airbrush body and nozzle.
- Thin, flexible brush for cleaning the airbrush needle channel and other hard-to-reach areas.
- Rigid brush for scrubbing stubborn paint buildup inside the airbrush body.
Needle Replacement
If your airbrush is experiencing inconsistent spray patterns or clogs, replacing the needle may be necessary. Ensure you have the following tools for needle replacement:
- Set of Allen wrenches to disassemble the airbrush and access the needle.
- Replacement airbrush needle compatible with your airbrush model.
- Fine sandpaper or polishing cloth for smoothing any rough surfaces around the needle seat.
Step-by-step Guide To Fix Common Airbrush Issues
When it comes to airbrushing, experiencing issues like clogs, irregular spray patterns, or spattering can be frustrating. Knowing how to troubleshoot these common problems is essential to keep your airbrush functioning smoothly. In this step-by-step guide, we’ll walk you through the process of fixing frequently encountered airbrush issues, including clearing clogs, adjusting spray patterns, and resolving spattering so that you can get back to creating flawless artwork.
Clearing Clogs
Airbrush clogs are a common annoyance, but they can be resolved with a bit of patience and the right technique. Follow these steps to clear clogs from your airbrush:
- Disassemble the airbrush carefully, keeping track of the parts.
- Soak the nozzle, needle, and air cap in a cleaning solution or airbrush cleaner.
- Use a cleaning brush to gently scrub the clogged areas, being careful not to damage the delicate parts.
- Rinse the parts thoroughly with water and reassemble the airbrush.
Adjusting Spray Pattern
If you notice that your airbrush is producing an inconsistent or irregular spray pattern, it may need some adjustments. Here’s how to correct the spray pattern:
- Check the air pressure and adjust it according to the manufacturer’s recommendations.
- Inspect the needle and nozzle for any damage or blockages, and clean or replace them if necessary.
- Adjust the needle position and the air cap to control the spray pattern and achieve the desired result.
Resolving Spattering
Spattering, which causes small droplets in the spray pattern, can be frustrating, but it’s usually easily resolved. Follow these steps to eliminate spattering:
- Check the air pressure and adjust it to the optimal level for your specific airbrush model.
- Examine the needle and air cap for any buildup or damage, and clean or replace as needed.
- Thin the paint to the correct viscosity to prevent spattering and ensure a smooth spray pattern.
Tips For Preventing Future Airbrush Problems
When it comes to airbrushing, the key to achieving flawless and consistent results lies in not only knowing how to fix an airbrush but also in preventing future problems. By implementing the right preventive measures, you can ensure that your airbrush continues to perform optimally, saving you time and frustration. Here are some essential tips for preventing future airbrush issues.
Proper Cleaning And Maintenance
Proper cleaning and maintenance are paramount when it comes to keeping your airbrush in top condition. After each use, make sure to thoroughly clean all the components of the airbrush, including the nozzle, needle, and air cap. Use a designated cleaning solution and be gentle to avoid damaging delicate parts. Regularly inspect the airbrush for any signs of wear or clogging, and promptly address any issues that arise. Regular cleaning and maintenance will prevent the build-up of paint residue and ensure that your airbrush operates smoothly.
Choosing The Right Paint And Thinner
Choosing the right paint and thinner can also contribute to preventing future airbrush problems. Use high-quality paints specifically formulated for airbrushing to avoid clogs and inconsistent spray patterns. Additionally, ensure that you use the appropriate thinner for your chosen paint, as using the wrong thinner can lead to clogging and malfunctions. By carefully selecting compatible paints and thinners, you can minimize the risk of encountering issues with your airbrush.
Frequently Asked Questions
How Often Should I Clean My Airbrush?
You should clean your airbrush after each use to ensure optimal performance. Regular maintenance is key to preventing clogs and issues.
What Is The Best Way To Unclog An Airbrush?
Use a cleaning solution specifically designed for airbrushes and a cleaning brush to gently remove any dried paint or debris.
Can I Use Any Type Of Paint With My Airbrush?
It’s important to use paints that are specifically formulated for airbrushing to prevent clogs and ensure smooth, even application.
How Do I Troubleshoot Airbrush Spraying Issues?
Check for clogs, make sure the airbrush is properly assembled, and adjust the air pressure to troubleshoot spraying issues.
What Maintenance Should I Perform On My Airbrush?
Regularly clean the airbrush, replace worn parts as needed, and store it properly to maintain its functionality. Regular maintenance is crucial for optimal performance.
Conclusion
Fixing an airbrush requires patience, precision, and a thorough understanding of its components. By following the step-by-step guide provided in this blog post, you can effectively troubleshoot any issues and ensure the optimal performance of your airbrush. Regular maintenance and proper care are essential in prolonging the lifespan of your airbrush and achieving the best results in your painting projects.
We hope this post has been helpful, and we wish you success in fixing your airbrush!