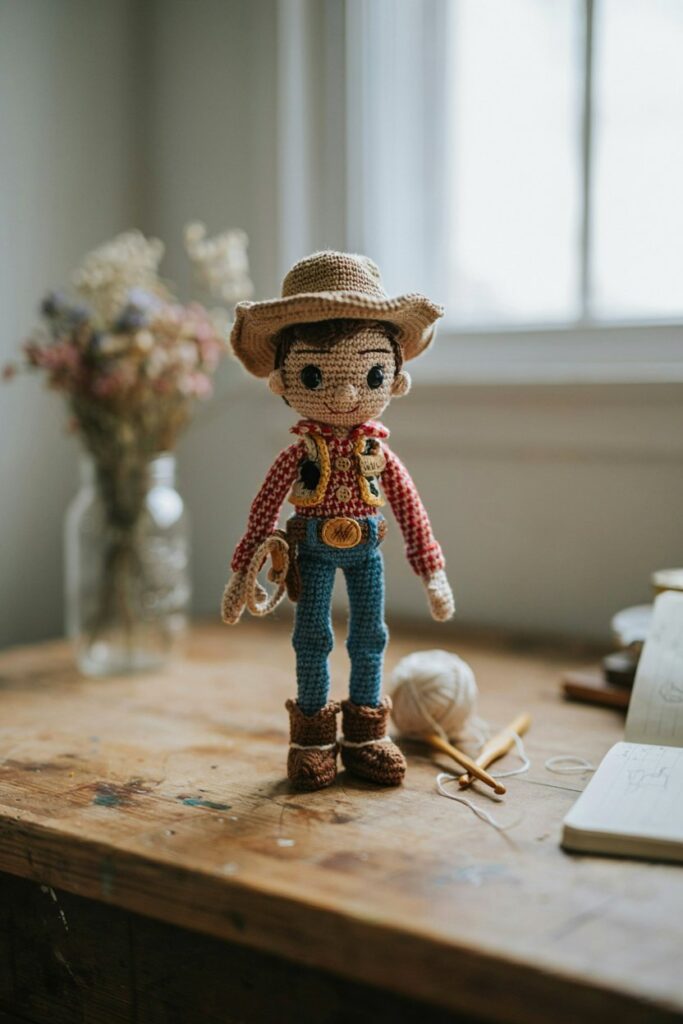
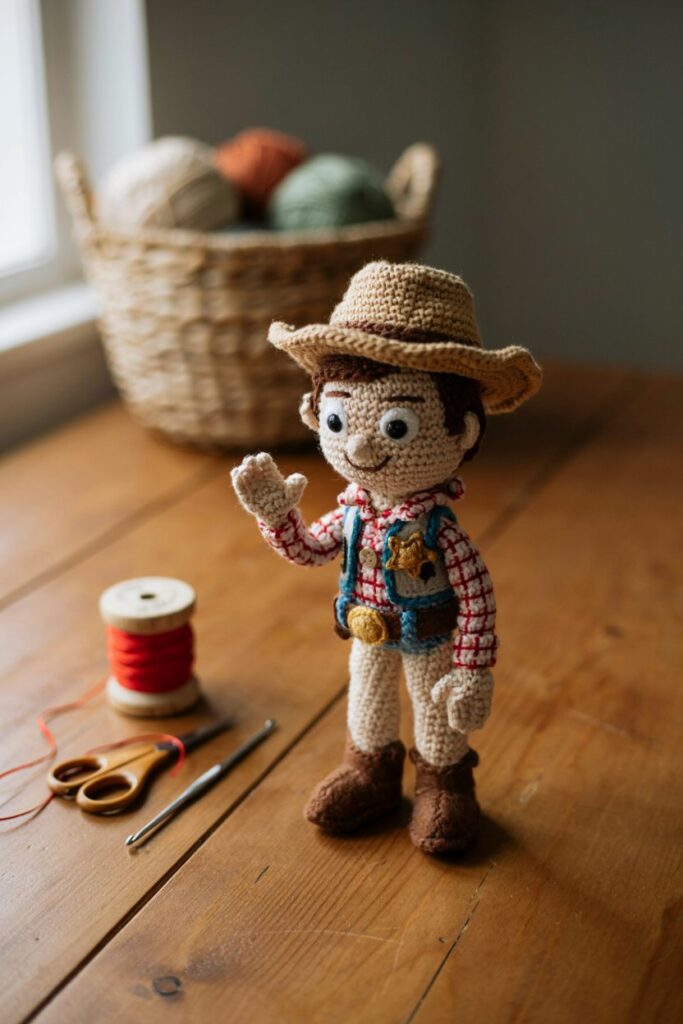
There’s something about crocheting a character you love that hits differently than working up a generic little bear or a round blob of a cat. When the pieces start coming together and you can see him taking shape — the hat, the vest, the cowboy boots — there’s a particular joy in recognizing who it is. That’s the magic of character amigurumi. You’re not just making a stuffed toy. You’re making Woody.
This pattern is designed for intermediate beginners — meaning you’ve got single crochet down, you’re comfortable working in the round, and you’ve maybe done one or two amigurumi projects before but nothing super complex. If you’ve never crocheted at all, I’d suggest making a small ball first just to get your tension consistent, then come back here. If you’ve already got some rounds under your belt? You’re ready. Let’s go.
The finished Woody stands about 9–10 inches tall and is worked almost entirely in single crochet for maximum control and a tight fabric that won’t show your stuffing. The hat is worked separately and can be either sewn on permanently or left removable (I’ll tell you how to do both). Assembly takes the most time, so don’t rush it — that’s where Woody really becomes Woody.
Materials Needed
You’ll need more colors than you might expect, but most of them are used in small quantities — great for using up yarn scraps.
Yarn:
- Yellow (skin tone) — approximately 80 yards
- White — approximately 40 yards
- Brown (dark, for boots and belt) — approximately 30 yards
- Tan or light brown (for hat and holster) — approximately 40 yards
- Denim blue or medium blue (for jeans) — approximately 50 yards
- Yellow/gold or mustard (for shirt or vest detailing) — approximately 20 yards
- Black — small amount for features
All yarn is worsted weight (weight 4). Acrylic works perfectly for this project and holds its shape well after stuffing.
Other supplies:
- Size 3.5mm (US E/4) crochet hook
- Polyester fiberfill stuffing
- Two 10mm black safety eyes
- Stitch markers (at least 2)
- Yarn needle (for sewing pieces together and weaving in ends)
- Scissors
- Optional: thin black embroidery floss for facial features, small amount of red embroidery floss for mouth
- Optional: small piece of craft felt in tan for hat brim detail
- Wire or pipe cleaner (optional, for poseable arms)
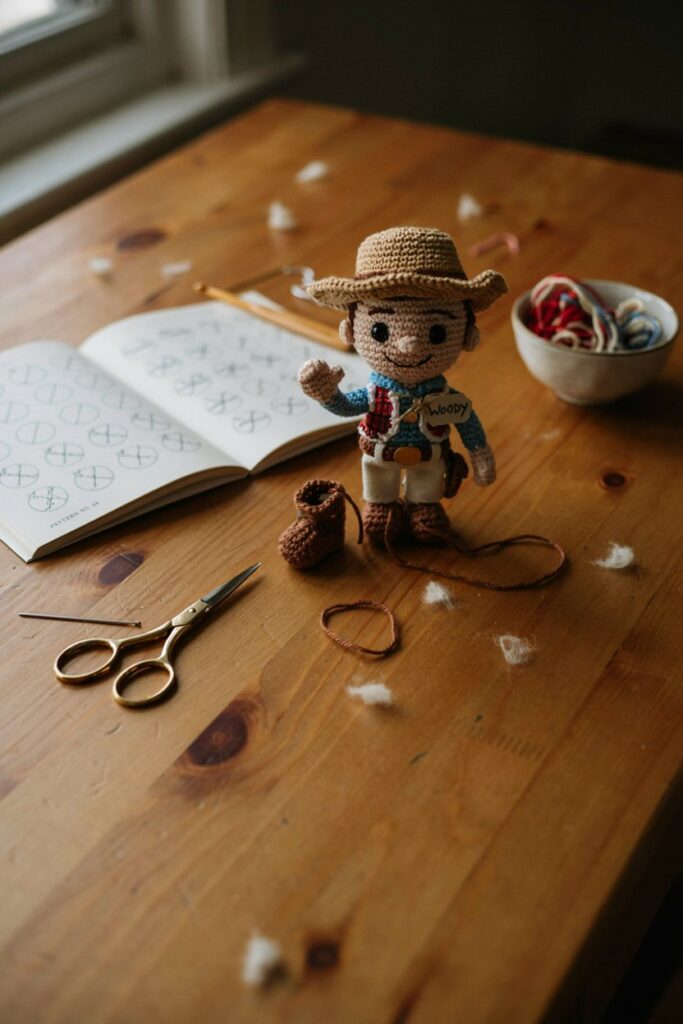
Gauge & Hook Size
Gauge: Approximately 5 single crochets = 1 inch and 5 rows = 1 inch using a 3.5mm hook and worsted weight yarn.
Why does gauge matter for amigurumi? With amigurumi, gauge isn’t about getting an exact finished size — it’s about getting a fabric that’s tight enough that your stuffing doesn’t show through. If your stitches look loose or you can see light through the fabric when you hold it up, try going down to a 3.0mm hook. If your fabric is very stiff and difficult to work, go up to a 4.0mm. Either is fine as long as you get that dense, tightly woven fabric.
Abbreviations Used
Every pattern has its own shorthand. Here’s what I use throughout this pattern, with plain English explanations for each:
MR — Magic Ring (also called magic circle or magic loop). This is how almost all amigurumi pieces begin. Instead of chaining and joining into a ring, you make a loop with your yarn tail and crochet over it, then pull the tail to close the center hole completely so there’s no gap. If the magic ring feels impossible right now, you can chain 2 and work your first round of stitches into the second chain from your hook — it leaves a tiny hole in the center but works fine.
sc — Single crochet. The most basic stitch, and the one you’ll use for about 95% of this pattern. Insert hook, pull up a loop, yarn over, pull through both loops.
inc — Increase. Work 2 single crochets into the same stitch. This is how your pieces get wider.
sc2tog — Single crochet 2 together. This is a decrease — it joins two stitches into one and makes your piece narrower. Insert hook into the next stitch, pull up a loop, then insert hook into the following stitch, pull up another loop — you now have 3 loops on your hook. Yarn over and pull through all 3 loops. One stitch made from two.
slst — Slip stitch. Insert hook, yarn over, pull through both the stitch and the loop on your hook in one motion. Used for joining rounds and sometimes for invisible color changes.
ch — Chain stitch.
BLO — Back loop only. Instead of inserting your hook under both loops of the stitch as usual, you only go under the back loop (the one farther from you). This creates a visible ridge line on the front of your work, useful for boot cuffs and hat brims.
[x] times — Repeat the instructions in brackets that many times.
Rnd — Round.
St(s) — Stitch(es).
FO — Fasten off. Cut your yarn leaving a long tail, then pull the tail through the last loop on your hook to secure it.
Body Instructions
The body is worked from the bottom up — we start with the feet, work up through the legs and torso, and finish at the neck. Keep a stitch marker in the first stitch of each round so you always know where your round starts. Move it up as you go.
Feet and Boots (Make 2)
Woody’s boots are dark brown with a lighter brown leg above. Start with your dark brown yarn.
Round 1: MR, 6 sc into ring. Pull tail to close. (6 sts)
Round 2: Inc in each st around. (12 sts)
Round 3: [Sc in next st, inc in next st] 6 times. (18 sts)
Rounds 4–5: Sc in each st around. (18 sts) — This creates the flat sole of the boot.
Round 6 (toe shaping): Sc in first 6 sts, [sc2tog] 3 times, sc in remaining 6 sts. (15 sts)
Round 7: Sc in first 5 sts, [sc2tog] twice, sc in last 6 sts. (13 sts)
Round 8: Sc in each st around. (13 sts)
Round 9 (boot cuff — work in BLO): Sc in each st around in back loops only. (13 sts) — This creates that little ridge where the boot top meets the leg.
Change to tan/light brown yarn here for the leg.
Rounds 10–16: Sc in each st around. (13 sts)
At the end of Round 16, FO and leave a long tail for sewing. Stuff firmly before closing — boots should feel solid, especially at the toe. Do this for both boots.
Don’t worry if the boots look a little lumpy right now. They’ll get their shape when stuffed and sewn to the body.
Joining the Legs and Creating the Body
This is the moment when the whole body becomes one piece, and it feels like magic when it works. Stay with me here.
Stuff both legs. Place both boots/legs next to each other with their openings facing up. You’re going to join them by crocheting from one into the other.
Using your denim blue yarn (for jeans):
Work the last round of stitches around the top opening of the first leg. Chain 3, then join to the second leg and work around its opening. When you get back to the chain, work 3 sc across the chain. You now have a joined oval of stitches that forms the hips.
Joined hip round (after joining): Sc around the entire joined oval, including the chains. You should have approximately 32 stitches.
Tip: Count carefully here and adjust if needed — a few stitches either way won’t matter.
Rounds 1–4 of body (jeans section): Sc in each st around. (32 sts)
Change to yellow/gold or mustard for the shirt.
Rounds 5–10 of body (shirt section): Sc in each st around, decreasing slightly on Round 9 and 10.
Round 9: [Sc in next 6 sts, sc2tog] 4 times. (28 sts)
Round 10: [Sc in next 5 sts, sc2tog] 4 times. (24 sts)
This narrowing is the waist. Stuff the body here before continuing — it’s easier to stuff when you can still reach inside.
Rounds 11–14 of body (upper chest): Sc in each st around. (24 sts)
Round 15 (neck): [Sc in next 4 sts, sc2tog] 4 times. (20 sts)
Round 16: [Sc in next 3 sts, sc2tog] 4 times. (16 sts)
FO, leave long tail. Stuff firmly before closing neck opening — you want the body to be quite firm so Woody stands up well.
Arms (Make 2)
Arms are worked in yellow (skin) for the hand and tan or yellow/gold for the sleeve.
Round 1: MR, 6 sc into ring. (6 sts)
Round 2: Inc in each st around. (12 sts)
Rounds 3–5: Sc in each st around. (12 sts) — This is the hand.
Round 6: [Sc2tog, sc in next 4 sts] twice. (10 sts) — Slight narrowing at the wrist.
Change to your shirt color here.
Rounds 7–16: Sc in each st around. (10 sts) — This is the sleeve.
FO leaving a long tail. Stuff lightly — arms can be a little floppy if you like, or stuff them firmly if you prefer them more poseable. If you want wire-poseable arms, insert a pipe cleaner folded in half before stuffing.
Hat (Worked separately — tan/brown yarn)
The hat is worked in two parts: the crown (top section) and the brim.
Hat Crown:
Round 1: MR, 6 sc. (6 sts)
Round 2: Inc in each st. (12 sts)
Round 3: [Sc, inc] 6 times. (18 sts)
Round 4: [Sc in next 2 sts, inc] 6 times. (24 sts)
Round 5: [Sc in next 3 sts, inc] 6 times. (30 sts)
Rounds 6–12: Sc in each st around. (30 sts) — This is the cylindrical crown of the hat.
Round 13 (hat brim — work in BLO): [Sc in next 4 sts, inc] 6 times. (36 sts)
Round 14: [Sc in next 5 sts, inc] 6 times. (42 sts)
Round 15: [Sc in next 6 sts, inc] 6 times. (48 sts)
Round 16: Sc in each st around. Slst to join. FO. (48 sts)
The back loop trick in Round 13 creates a slight bend line where the brim starts, giving it that natural hat-brim drape. If you want a stiffer brim, you can stiffen it with a light spray of liquid starch once assembled, or cut a circle of thin cardboard to sandwich inside it.
Head Instructions
Woody’s head is a slightly flattened oval — not a perfect sphere, which makes him look more like the character.
All in yellow (skin tone):
Round 1: MR, 6 sc. (6 sts)
Round 2: Inc in each st. (12 sts)
Round 3: [Sc, inc] 6 times. (18 sts)
Round 4: [Sc in 2 sts, inc] 6 times. (24 sts)
Round 5: [Sc in 3 sts, inc] 6 times. (30 sts)
Round 6: [Sc in 4 sts, inc] 6 times. (36 sts)
Round 7: [Sc in 5 sts, inc] 6 times. (42 sts)
Rounds 8–14: Sc in each st around. (42 sts)
→ After Round 14: this is the time to attach your safety eyes. Position them roughly 10 stitches apart, between Rounds 10 and 11 (counting from the bottom of the head, where you started). Insert the safety eye post through the fabric, then press the washer firmly onto the post from inside. Once those washers are on, they do not come off, so double-check placement before committing.
If making for a child under 3, skip safety eyes entirely and embroider eyes in black yarn instead.
Round 15: [Sc in 5 sts, sc2tog] 6 times. (36 sts)
Round 16: [Sc in 4 sts, sc2tog] 6 times. (30 sts)
Round 17: [Sc in 3 sts, sc2tog] 6 times. (24 sts)
→ Stuff the head firmly now, before the opening gets too small to fit your hand through. Use more stuffing than you think you need — a firm, well-stuffed head holds its shape and makes the face embroidery easier.
Round 18: [Sc in 2 sts, sc2tog] 6 times. (18 sts)
Round 19: [Sc, sc2tog] 6 times. (12 sts)
Round 20: [Sc2tog] 6 times. (6 sts)
FO leaving a long tail, thread onto yarn needle, weave through remaining 6 sts and pull tight to close. Weave in and trim end.
Ears (Make 2 — worked in yellow)
Round 1: MR, 6 sc. (6 sts)
Round 2: Inc in each st. (12 sts)
Round 3: Sc in each st. Slst, FO leaving tail for sewing.
Flatten the ears before sewing — don’t stuff them. Pin them to the sides of the head roughly level with the eyes before sewing so you can check the placement looks right from the front before committing.
Assembly & Details
This is the most time-consuming part — and honestly, the most satisfying. Turn on a movie (Toy Story, obviously), pour something warm to drink, and settle in.
Step 1: Sew the Head to the Body
Thread the long tail from the body onto your yarn needle. Position the head on top of the body, centered. Using mattress stitch (run the needle along the inside edge of both pieces alternately, pulling snug to draw them together invisibly), sew all the way around the neck opening, making sure the head feels secure. Go around twice if you’re not sure — Woody’s head takes some handling.
Step 2: Attach the Arms
Position the arms so they sit just below and slightly behind the “shoulder” line — roughly on Rounds 13–14 of the body. Use the long yarn tail and a yarn needle, sewing through the top of the arm and into the body, going back and forth several times. A securely-sewn arm won’t flop sideways. Test each arm after sewing by gently tugging — it should feel firmly attached.
Step 3: Embroider the Face
This is the step where Woody’s personality appears, and I want you to take your time here.
Using black embroidery floss or black yarn, embroider:
- Eyebrows: short horizontal satin stitches in a slight arch above each safety eye, angled slightly downward toward the center for that classic Woody expression
- Nose: 3–4 horizontal satin stitches in a small triangle shape, centered below the eyes
Using red embroidery floss or yarn:
- Mouth: a long stitch for the upper lip line, then two shorter downward strokes at each end (like a wide, friendly smile) — Woody’s mouth is expressive and generous
Tip: Use a disappearing ink fabric marker or a chalk pencil to sketch the face placement lightly before embroidering. It washes or rubs out and saves you from unpicking a misplaced eyebrow.
Step 4: Sew on the Ears
With the face embroidered, you can now see where the ears should go in relation to the facial features. Sew them flat against the sides of the head using the tail and a yarn needle, tucking the edges under slightly so they curve naturally rather than sticking straight out.
Step 5: Add the Hat
Place the hat on Woody’s head and decide: permanent or removable?
Permanent: Sew around the inside edge of the hat brim directly to the head. This is the sturdiest option.
Removable: Sew a small snap or piece of velcro to the inside of the hat brim and to the corresponding spot on the head. This is slightly more involved but means the hat can come off (which is very on-brand for Woody).
Step 6: The Details That Make All the Difference
These finishing touches transform a well-executed amigurumi into a recognizable character:
- Belt: A thin strip of dark brown yarn sewn horizontally across the jeans/shirt join, with a French knot or small square of yellow yarn for the buckle
- Boot spurs: Two small loops of yellow yarn sewn to the back heel of each boot
- Sheriff badge: Cut a tiny star from yellow craft foam or felt and glue or stitch it to the left chest
- Vest: If you want the full look, cut a simple vest shape from brown or tan felt and glue it over the shirt section — no sewing required and it looks exactly right
- String pull toy loop: A small loop of white yarn at the back, just for character accuracy (and because it’s a lovely detail)
Troubleshooting
Why does my Woody look lumpy?
Nine times out of ten, lumpy amigurumi comes down to one of three things.
Under-stuffing: It feels counterintuitive, but more stuffing is almost always the answer. Work it in gradually, using small pieces of fiberfill rather than one large wad, and work it into the extremities (toes, boot toes, head corners) with a pencil or chopstick before filling the center.
Tension inconsistency: If some rows are tighter and some looser, you get ridges and bumps. This smooths out with practice, but for now, try to maintain a consistent rhythm — crochet at the same speed, hold your yarn the same way each time, and take breaks if your tension is changing as your hands fatigue.
Visible stitch markers: Some crafters use stitch markers that are too large and distort the stitches around them. Switch to a small split-ring marker or a simple piece of contrasting yarn as a removable marker instead.
How do I get the hat to stay on?
If the hat is wobbling or falling off, there are a few options depending on how secure you need it to be.
A few invisible stitches through the inside of the hat brim into the head underneath is the fastest fix — just two or three stitches at the front and back, and it won’t come off without being deliberately removed.
If you want it fully removable but stable, a small button snap sewn to the inside of the crown and to the corresponding spot on the head is the most secure removable option. Velcro is easier to attach but can catch on the yarn.
If the hat is too large and sits too low, add a row of single crochet around the inside of the crown to tighten the opening slightly.
My safety eyes look crooked — can I move them?
Honestly? Once those washers are on, they’re on. This is why I’m so emphatic about the pinning-first step. If you’ve already attached them and the placement is off, the gentlest fix is to adjust your eyebrow embroidery to compensate — angling one differently can balance an asymmetrical eye placement more than you’d expect. For future projects, always pin safety eyes in place, step back, look at it from an arm’s length away, and live with it for an hour before securing.
My pieces look nothing like the character right now — is that normal?
Yes. A hundred percent yes. Individual amigurumi pieces almost never look like the finished character — they’re blobs and tubes and rounds that only become recognizable when assembled in the right order with the right proportions. Trust the pattern, finish all the pieces before you panic, and then assemble. Woody appears at assembly. That’s just how it works, and it’s part of what makes the finished reveal so satisfying.
You made Woody. That’s genuinely wonderful. Share photos — we all want to see him.