
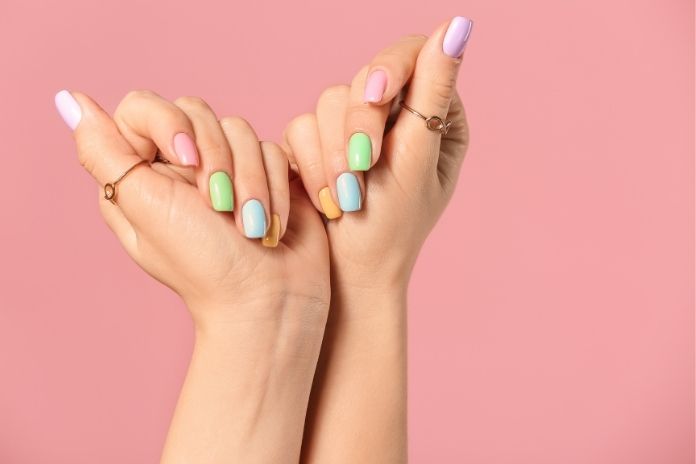
Both gel and acrylic overlays strengthen your natural nails without adding length — but they feel different, last differently, and suit different lifestyles. If you’ve been trying to figure out which one to book at your next appointment, here’s the honest breakdown.
What Are Overlay Nails (Quick Recap)
Before diving into the comparison: overlay nails are a layer of product applied directly over your natural nail. No tips, no extensions, no added length. The product hardens over your nail plate to protect it, strengthen it, and give you a long-lasting finish that goes far beyond regular nail polish.
Both gel and acrylic overlays do this — they just do it with different materials and with different results.
What Are Gel Overlay Nails?
Gel overlays use a hard builder gel — not regular gel polish — applied over your natural nail and cured under a UV or LED lamp. The builder gel is thicker and more structured than gel polish, which means it actually reinforces the nail rather than just coating it for color.
One important clarification: regular gel polish is not a gel overlay. Gel polish is thin and primarily cosmetic. A gel overlay uses a thicker, structural builder gel that protects the nail. These are two very different things, even though both go under a UV lamp.
What Are Acrylic Overlay Nails?
Acrylic overlays use the same materials as a traditional acrylic set — acrylic powder and liquid monomer — but without extending the nail tip. The mixture is applied directly over your natural nail, shaped while soft, and hardens in air without a lamp.
The result is a very hard, durable shell over your natural nail. Think of it as the most armored version of an overlay.
Gel vs. Acrylic: Side by Side
Durability
Acrylic wins here. Acrylic overlays can last 6–7 weeks with fill-ins every 2–3 weeks as your natural nail grows. They are extremely hard and shock-absorbent — genuinely difficult to chip or break.
Gel overlays typically last 3–4 weeks before needing a soak-off and fresh application. They’re durable, but not quite at acrylic’s level for long-term wear.
Winner: Acrylic — if longevity is your top priority.
Feel and Weight
Gel wins here by a significant margin. Gel overlays are lighter and more flexible than acrylic, and they move with your nail in a way that feels much closer to your natural nail. Most people who switch from acrylic to gel comment on how much lighter their hands feel.
Acrylic overlays are noticeably heavier and stiffer. They can feel unnatural at first, especially if you’re new to overlays.
Winner: Gel — if natural feel matters to you.
Appearance
Both can look excellent, but gel has a natural glossy finish straight from the lamp that’s hard to beat. Acrylic can look just as good in skilled hands, but the finish is more dependent on the technician’s application.
Winner: Gel — for a more naturally polished look.
Nail Health
Gel is gentler. The chemicals used in gel overlays are milder than the liquid monomer used in acrylic application. Removal is also gentler — gel soaks off more easily and with less filing than acrylic.
Acrylic application and removal involve stronger chemicals and more aggressive filing of the nail plate, which over time can thin and weaken the natural nail if not done carefully.
Winner: Gel — for nail health and gentler chemistry.
Availability and Cost
Acrylic wins on both counts. Acrylic overlays are available at virtually every nail salon and are typically the more affordable option. Gel overlays are more widely available than they used to be but still cost more and aren’t offered everywhere.
Winner: Acrylic — for accessibility and budget.
Application Difficulty
If you’re doing your nails at home, acrylic is significantly harder to work with. Getting the liquid-to-powder ratio right takes practice, and mistakes are harder to fix mid-application.
Gel is more forgiving — it stays workable until you cure it under the lamp, giving you time to shape and adjust. This makes it far more beginner-friendly for DIY.
Winner: Gel — for anyone doing their own nails at home.
Which One Is Right for You?
Choose gel overlays if:
- You want a lighter, more natural feel on your nails
- You have sensitive nails or want to minimize chemical exposure
- You’re doing your nails at home and are new to overlays
- You care most about how your nails look and feel day-to-day
Choose acrylic overlays if:
- You need maximum durability — you’re hard on your hands or very active
- You want the longest possible wear between appointments
- Budget and salon availability matter — acrylic is easier to find and usually cheaper
- You’re comfortable with the heavier feel and don’t mind stronger chemicals
How Long Does Each Type Last?
Gel overlays last 3–4 weeks on average. After that, the product needs to be soaked off and reapplied. How long yours last depends on your activity level, how well they were applied, and how well you maintain them between appointments.
Acrylic overlays last 6–7 weeks, but you’ll need fill-ins every 2–3 weeks as your natural nail grows and a gap appears at the base. The overlay itself doesn’t need to be fully removed as often.
How to Remove Each Type Without Damage
Removal is where most nail damage actually happens, regardless of which overlay type you have.
For both gel and acrylic:
- Soak fingertips in acetone for 10–15 minutes (foil wraps with acetone-soaked cotton balls work best)
- Gently push off the softened product with a cuticle pusher — never force it
- If it’s not budging, soak for another 5 minutes rather than scraping harder
- Finish with cuticle oil and a nourishing hand cream to restore moisture
Never peel, pick, or forcibly pull either type of overlay off. This pulls layers of your natural nail with it and is the main cause of thin, damaged nails after overlays.
| ✦ Gel Overlay | ✦ Acrylic Overlay | |
|---|---|---|
| Appearance | Glossy, natural-looking finish that closely mimics real nails. | Slightly more opaque or matte; can look thicker on the nail. |
| Finish | High gloss Cured under UV/LED — no top coat needed. | Matte/buffed Air-dried; requires top coat for shine. |
| Durability | Lasts 2–3 weeks. Flexible, so less prone to cracking — may lift at edges. | Lasts 3–4 weeks. Very hard and durable; can crack under pressure rather than flex. |
| Strength | Moderate — best for people with fairly healthy natural nails. | High — ideal for very weak, brittle, or damaged nails. |
| Application | Pre-mixed gel applied in layers and cured under UV/LED light. Odourless. | Liquid monomer + powder polymer mixed on the nail, air-cured. Strong smell during application. |
| Removal | Soak in acetone for 10–15 min or gently file off. Easier on natural nails. | Requires a longer acetone soak (20–30 min) or aggressive filing. Can dry out the nail. |
| Nail damage | Lower risk Gentler on nails when removed correctly. | Higher risk Harsh chemicals and removal can thin the nail plate. |
| Flexibility | Flexible — moves with the natural nail, reducing stress fractures. | Rigid — may snap or crack under impact rather than flexing. |
| Colour options | Wide range — gel polish embedded during cure. Easy colour swap at fills. | Colour applied on top with regular or gel polish after the overlay sets. |
| Cost | Generally slightly higher due to UV/LED equipment and gel product costs. | Generally slightly lower — materials are inexpensive and widely available. |
| Maintenance | Fills every 2–3 weeks. Oily nail beds may cause lifting sooner. | Fills every 3 weeks. Can yellow over time without a UV-protective top coat. |
| Best for | Natural-look lovers, sensitive noses, beginners to nail overlays. | Nail biters, very weak nails, anyone wanting max longevity between fills. |
FAQs
Is gel or acrylic overlay better for weak nails? Gel is generally the better choice for weak or damaged nails. The milder chemicals are less stressful on an already compromised nail plate, and the lighter weight puts less strain on the nail as it grows. Dip powder is also worth considering if your nails are very weak — it’s the gentlest overlay option overall.
Can I switch from acrylic to gel overlays? Yes, but you need to fully remove the acrylic first before applying gel. Never apply gel over acrylic — the products don’t bond properly and the result will lift and break prematurely. Soak off the acrylic completely, let your nails recover for a week or two with nourishing oil, then get your gel overlay applied.
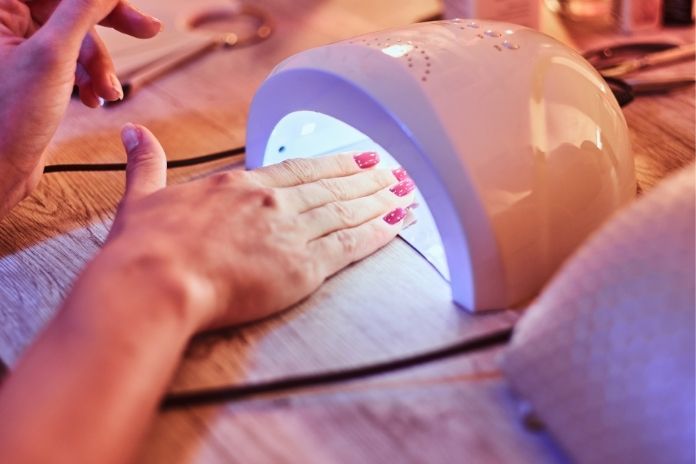
Do gel overlays need a UV lamp? Yes. Hard builder gel requires a UV or LED lamp to cure. This is non-negotiable — the gel won’t harden properly without it. If you’re doing gel overlays at home, a lamp is an essential part of your kit.
Can I get colored gel or acrylic overlays? Yes to both. You can have colored gel polish applied over a clear gel overlay, or have tinted acrylic used in your overlay. Most people get a clear overlay and then add regular gel polish or nail art on top — this gives you the most flexibility to change your nail color without removing the whole overlay.
Which lasts longer without chipping — gel or acrylic? Acrylic is more resistant to chipping because it’s a harder material overall. Gel overlays are durable but slightly more flexible, which means they can occasionally chip at the edges if your nails take a hard knock. That said, most people find gel overlays chip far less than regular nail polish.
![7 Best Liquid Latex for Nails [2026 Review]](https://magicalassam.com/review/wp-content/uploads/2022/05/Best-Liquid-Latex-for-Nails.jpg)
![Why Do My Dip Nails Crack? [How to Fix Them]](https://magicalassam.com/review/wp-content/uploads/2022/05/Why-Do-My-Dip-Nails-Crack_.jpg)