Absolutely! You can combine your favorite regular nail polish with a gel top coat for a long-lasting, shiny manicure. It’s a great way to enjoy vibrant colors with the durability of gel polish. By letting the regular nail polish dry completely before applying the gel top coat, you can lock in the color and get that salon-like finish at home.
Let’s dive deeper into this process and explore the benefits, tips, and techniques for nailing the perfect combination.
What Is a Gel Top Coat?
A gel top coat is the cherry on top of any manicure. It’s a special polish designed to seal and protect nail colors while adding a glossy, hard-to-chip finish. Unlike regular top coats, gel ones need curing under a UV or LED lamp to harden.
Why Use a Gel Top Coat?
- Long-lasting: Stays chip-free for up to two weeks.
- Durable: Protects nails from scratches and damage.
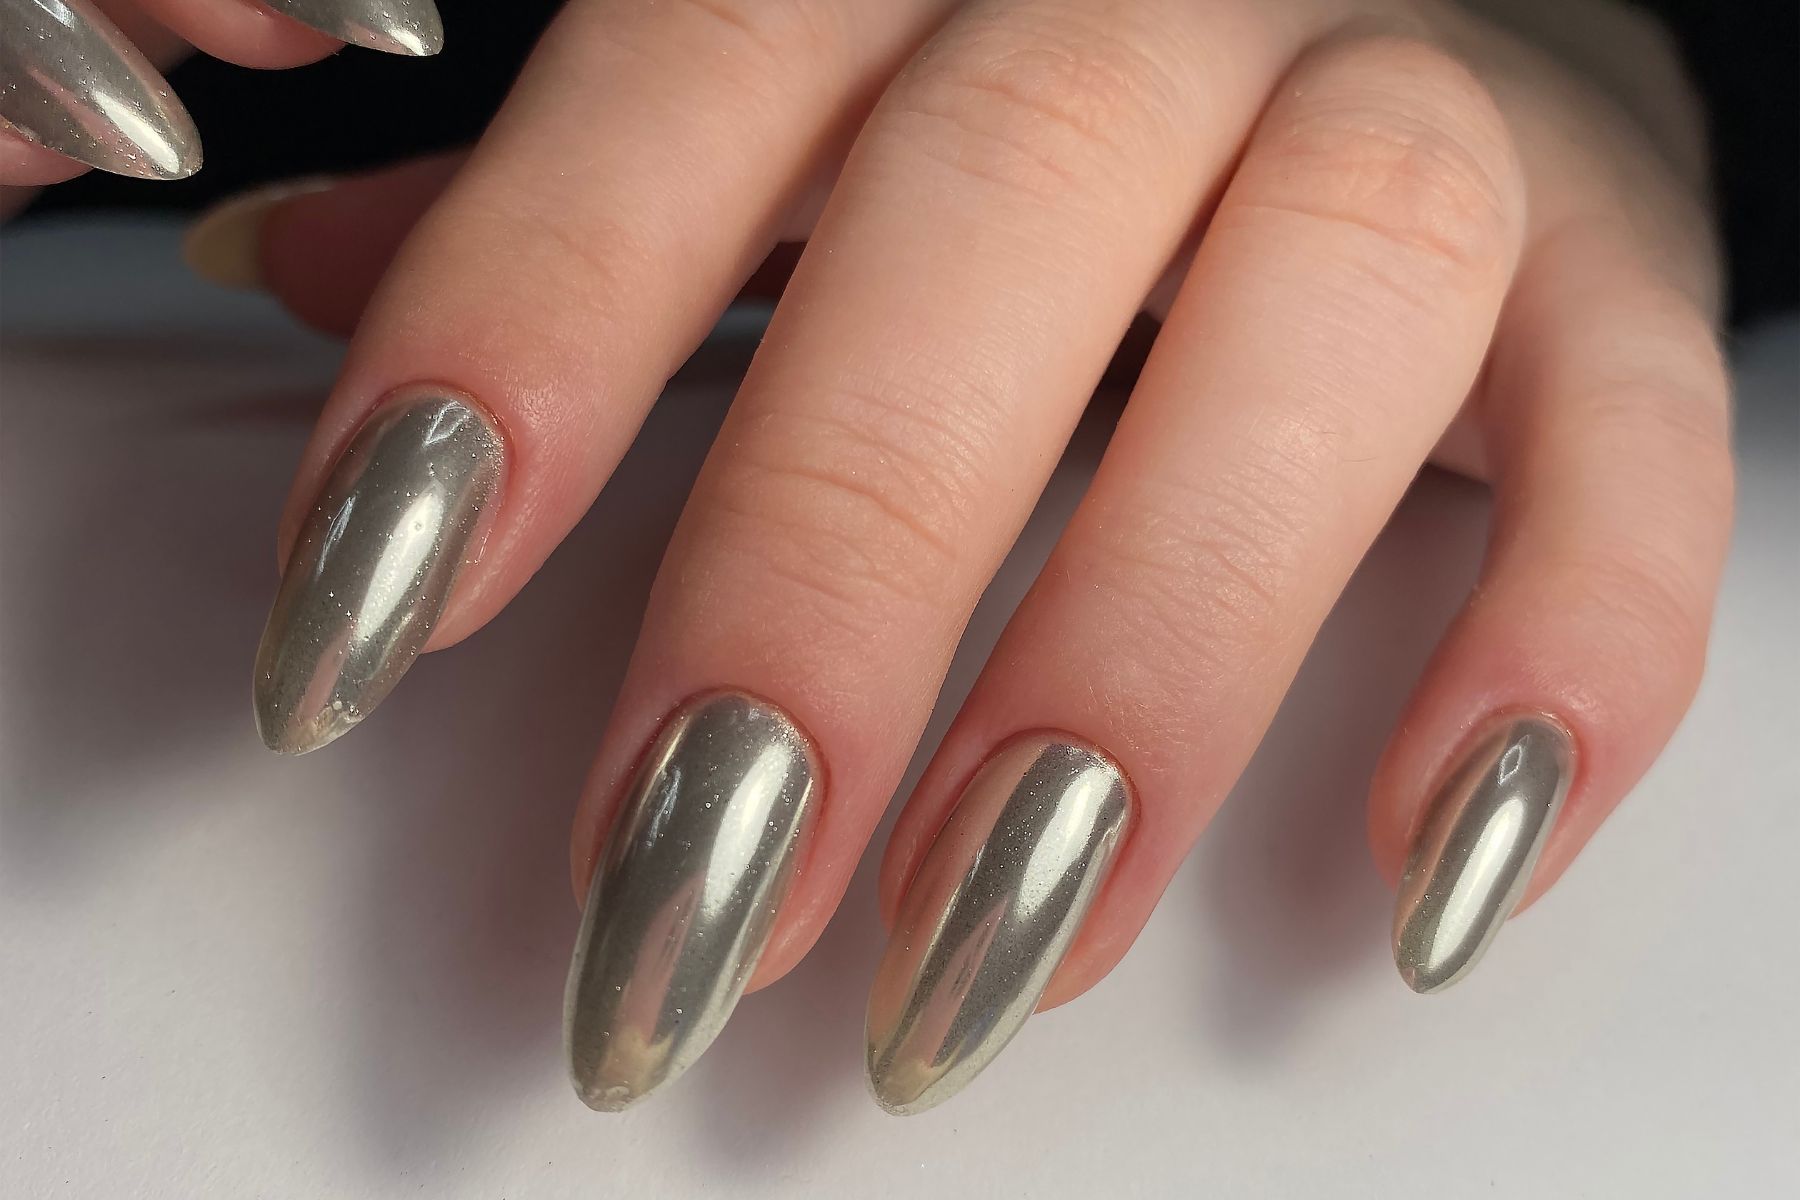
- Glossy Finish: Creates a mirror-like shine.
Comparing Gel Top Coats and Regular Nail Polish
Understanding the difference between these two products can help you create the perfect manicure.
| Feature | Gel Top Coat | Regular Nail Polish |
|---|---|---|
| Drying Process | Cures under UV/LED lamp | Air-dries naturally |
| Durability | Chip-resistant, long-lasting | Prone to chipping |
| Finish | Glossy, salon-like | Varies, not as shiny |
| Removal | Requires acetone soak | Simple remover does the job |
How to Combine Regular Nail Polish with a Gel Top Coat
Step 1: Prep Your Nails
Start with clean, dry nails for the best results.
- Remove old polish.
- Shape your nails and file edges.
- Buff lightly for a smooth surface.
- Apply a base coat to protect your nails.
Step 2: Apply Regular Nail Polish
- Shake the polish bottle well.
- Apply a thin, even coat, starting from the base to the tip.
- Let it dry completely. (Pro tip: Patience is key! Rushing can cause smudges.)
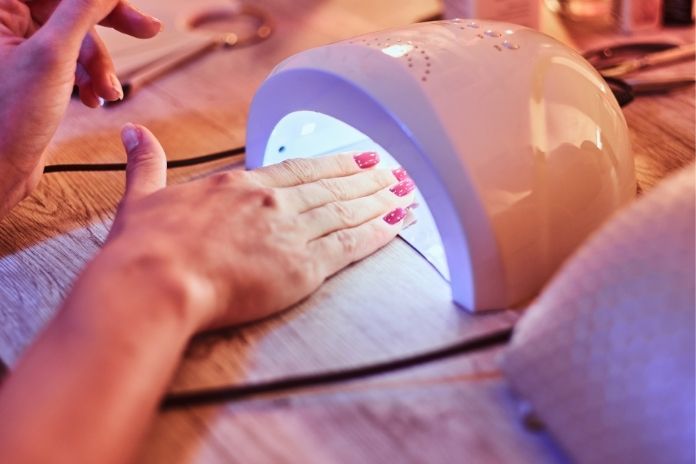
Step 3: Apply Gel Top Coat
- Use a gel top coat that complements your regular polish.
- Seal the edges of your nails to prevent chipping.
- Cure under a UV or LED lamp according to the product instructions.
Step 4: Wipe Residue
After curing, clean your nails with a lint-free pad soaked in rubbing alcohol for a flawless shine.
Tips for Long-Lasting Results
- Thin Layers: Apply thin coats to avoid a bulky finish.
- Cap the Edges: Seal the tips to prevent premature chipping.
- Avoid Water: Minimize exposure to water and harsh chemicals for the first 24 hours.
- Touch-ups: If chips occur, fix them with a matching polish and reapply the gel top coat.
Choosing the Right Nail Polish for Gel Top Coats
Not all regular nail polishes work seamlessly with gel top coats. Here are some tips to find the perfect match:
Factors to Consider:
- Drying Time: Quick-drying polishes work best.
- Pigmentation: Highly pigmented polishes give vibrant results.
- Formulation: Smooth, glossy formulas are more compatible.
Recommended Brands:
Here are some tried-and-tested regular polishes that work beautifully with gel top coats:
| Brand | Features |
|---|---|
| OPI | Wide range of colors, long-lasting formula |
| Essie | Smooth application, extensive shades |
| Zoya | Vegan, chip-resistant |
| CND Vinylux | 7-day wear, high shine |
Potential Challenges (and How to Tackle Them)
While the regular nail polish and gel top coat combo works wonders, you might encounter a few hiccups.
Common Issues:
- Chipping: Regular polish underneath can still chip if not applied properly.
- Bubbling: Caused by uneven layers or improper drying.
- Peeling: Happens when edges aren’t sealed correctly.
Solutions:
- Allow ample drying time for the regular polish before applying the gel top coat.
- Use thin, even coats for all layers.
- Cap the nail tips with each application to prevent lifting.
Removing the Gel Top Coat and Regular Polish Combo
Removing this combo takes a bit more effort, but it’s worth it to keep your nails healthy.
Steps for Safe Removal:
- Buff the top layer gently to break the seal.
- Soak a cotton pad with acetone.
- Place the pad on your nail and wrap it with aluminum foil.
- Wait 10–15 minutes, then gently scrape off the polish.
- Moisturize your nails with cuticle oil to restore hydration.
Why This Combo Is Worth Trying
Still wondering if this combo is right for you? Here’s why it’s a game-changer:
- Budget-Friendly: No need to buy a separate gel polish collection.
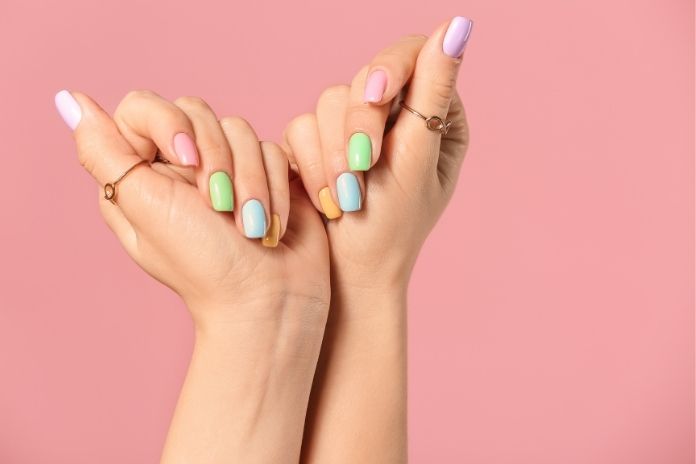
- Personalized Look: Experiment with endless color combinations.
- Salon-Quality Finish: Get a professional look without leaving home.
FAQs: Your Burning Questions Answered
Can any regular polish work?
Not always. Stick to smooth, quick-drying formulas for best results.
How long will it last?
With proper care, this combo can last up to two weeks.
What if the polish chips?
Touch up the chipped area with the same polish and reapply the gel top coat.
Quick Recap of Benefits
| Benefit | Why It’s Awesome |
|---|---|
| Long-lasting wear | Manicures that last up to two weeks |
| High gloss | Mirror-like shine |
| Durability | Chip-resistant protection |
| Budget-friendly | Use polishes you already own |
Final Thoughts
Using regular nail polish with a gel top coat is a fantastic way to elevate your at-home manicure game. Whether you’re a fan of classic reds, pastel pinks, or bold blues, this combo offers endless possibilities. With the right techniques and a bit of practice, you can achieve stunning, long-lasting nails without the salon price tag. Ready to try it out? Your nails will thank you!
![7 Best Liquid Latex for Nails [2026 Review]](https://magicalassam.com/review/wp-content/uploads/2022/05/Best-Liquid-Latex-for-Nails.jpg)