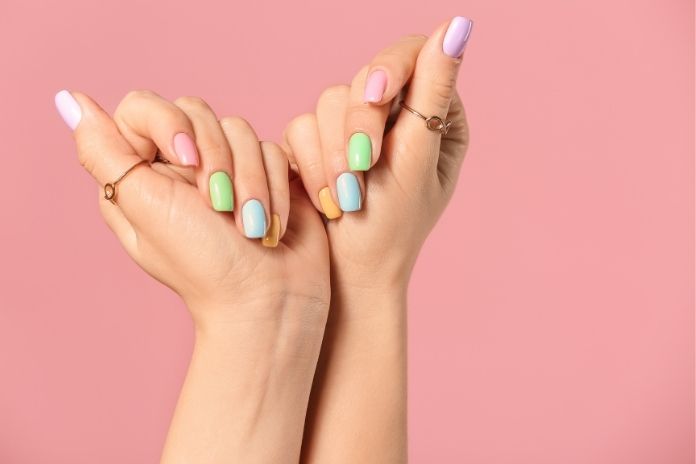
Are you interested in learning how to do ombre nails? We’ve got you covered. The ombre effect is a complex art, and if you’re a beginner, it’s possible that an expert would be useful.
Did you know that this craft may be mastered from the comfort of your own home? Along with 5 beautiful patterns, we’ve compiled a list of simple DIY nail art instructions. Sponges are optional, but you may make them with or without them. So, let your inner artist loose and create ombre gradient nails at home.
What is an Ombré Nail Design?
The colors of the gradient, from light to dark, are represented by this manicure design. It generally starts with a lighter hue and gradually fades into a darker hue at the nail’s end.
What You’ll Need
- Basecoat (clear nail polish)
- White nail polish
- Nude or flesh-toned nail polish
- Liquid latex tape
- Nail polish remover
- A small brush or a Q-tip
- Disposable makeup sponge
- Topcoat
Step 1: Apply The Base Coat
Start by applying manicured nails. Allow your nails to dry after applying the foundation.
Step 2: Apply The Nude Or Flesh-Toned Nail Polish
After that, apply two coats of natural or flesh-toned nail polish and allow it to dry.
Step 3: Apply The Liquid Latex Tape To The Cuticles
Around your fingernails, apply the liquid latex tape. It shields the skin from the mess and peels off cleanly. Wait for it to dry before proceeding to the next step.
Step 4: Apply The White Nail Polish To The Sponge
Paint the disposable sponge with a layer of white nail polish at the end.
Step 5: Apply The Nude Or Flesh-Toned Nail Polish To The Sponge
To create a gradient look, spread a thick layer of the nude or flesh-toned nail polish below the sponge tip.
Step 6: Dab The Sponge Onto The Nail
Hold the sponge so that the white nail polish comes to your nail tip and apply it to your nails.
Step 7: Repeat Steps 5 And 6
Fill up the sponge halfway with nail polish and stamp it over your nails to get the desired color intensity. Allow drying before proceeding.
Step 8: Remove The Liquid Latex Tape
Remove the liquid latex tape using a brush or your fingers.
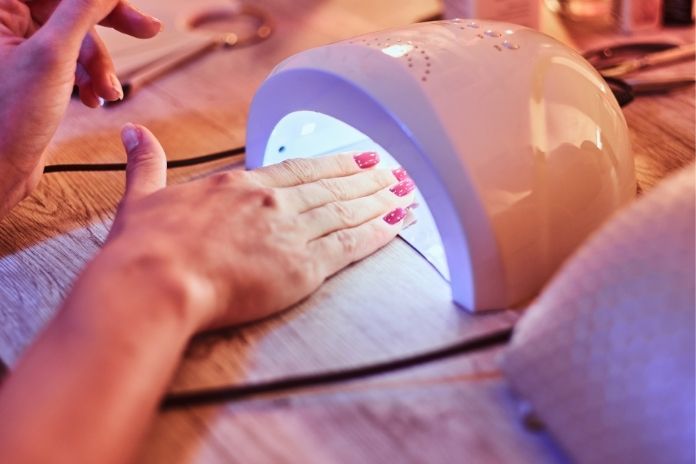
Step 9: Apply The Top Coat
Finally, apply the topcoat to smooth out any roughness in your nails and give them a glossy look.
Do(s) and Don’t(s)
- Use only enough gel polish to cover the area without smearing it, and do not apply too much on the sponge because it will spread.
- Do not utilize sponges that are excessively soft.
- Before sponging, use a toothpick or a sponge to scrape off any extra gel polish.
- You must not adjust your sponge too frequently, only move it as far as you have to.
- Place the barrier on top of your real nails rather than upon them, since it may stain.
- Wait for a layer to fully dry before proceeding with the next layer of gel polish.
- When the gel polish is still thick, don’t sponge.
- Don’t over-suck your nails; you don’t want the sponge particles to ruin your design.
5 Ways To Get Ombre / Gradient Nails! [Video]
How to do Ombré Nails Without a Sponge
Even if you don’t have a sponge on hand, you can still create an ombré design. You’ll need two opaque gel polishes, a tape, a cotton bud, and a base coat.
- Prepare your nails. Take the gloss off them.
- Choose the colors for your ombré design.
- Use a peel-off tape to aid cleanup.
- Apply a base coat, then cure for 60 seconds.
- Apply a base color. Use the lighter color as your base color.
- To apply the dark nail polish, start by dabbing it onto the tips of your nails with a cotton bud. Start from the middle and work your way to the tips.
- Apply this procedure to all ten nails.
- Cure your nails in sixty seconds.
- Apply the topcoat and then cure it for the last time.
10 EASY Ombré Nails For Summer!
6 Timeless and Trendy Ombré Nail Designs
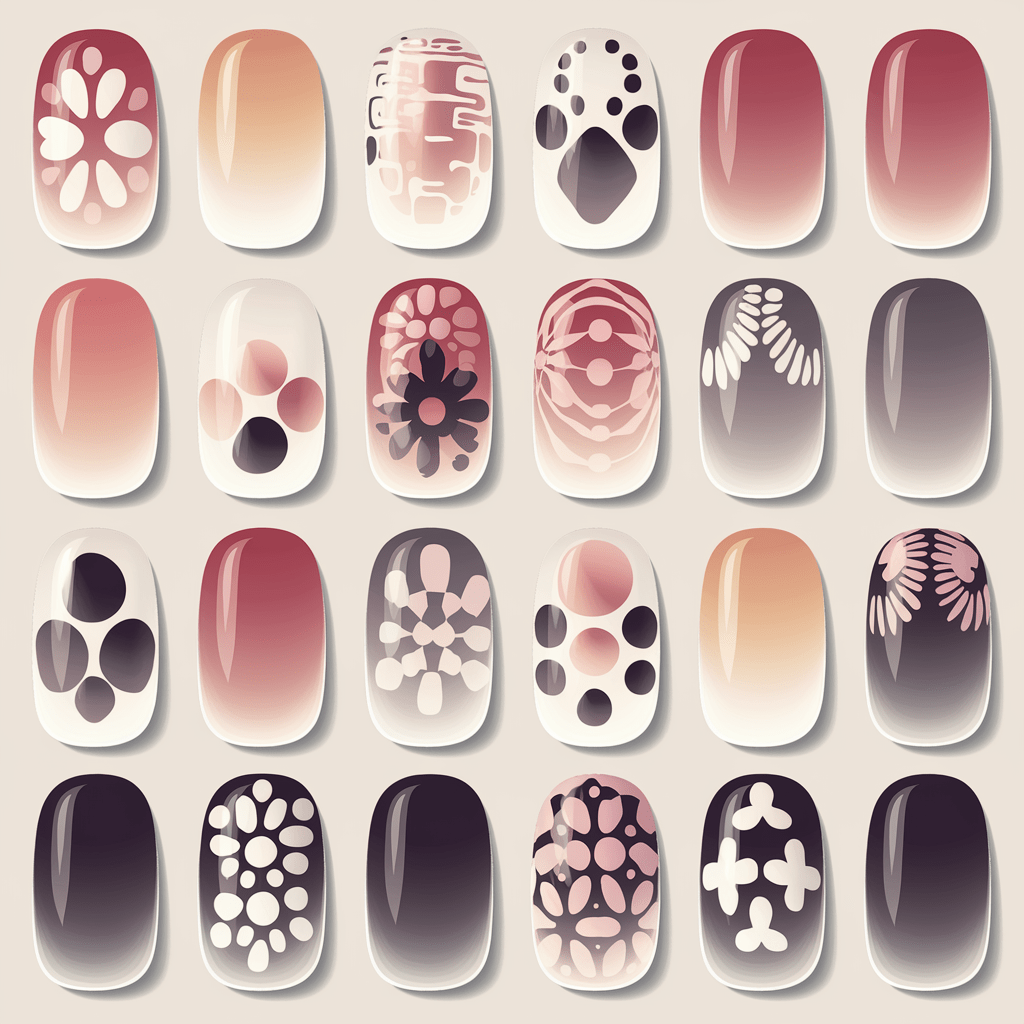
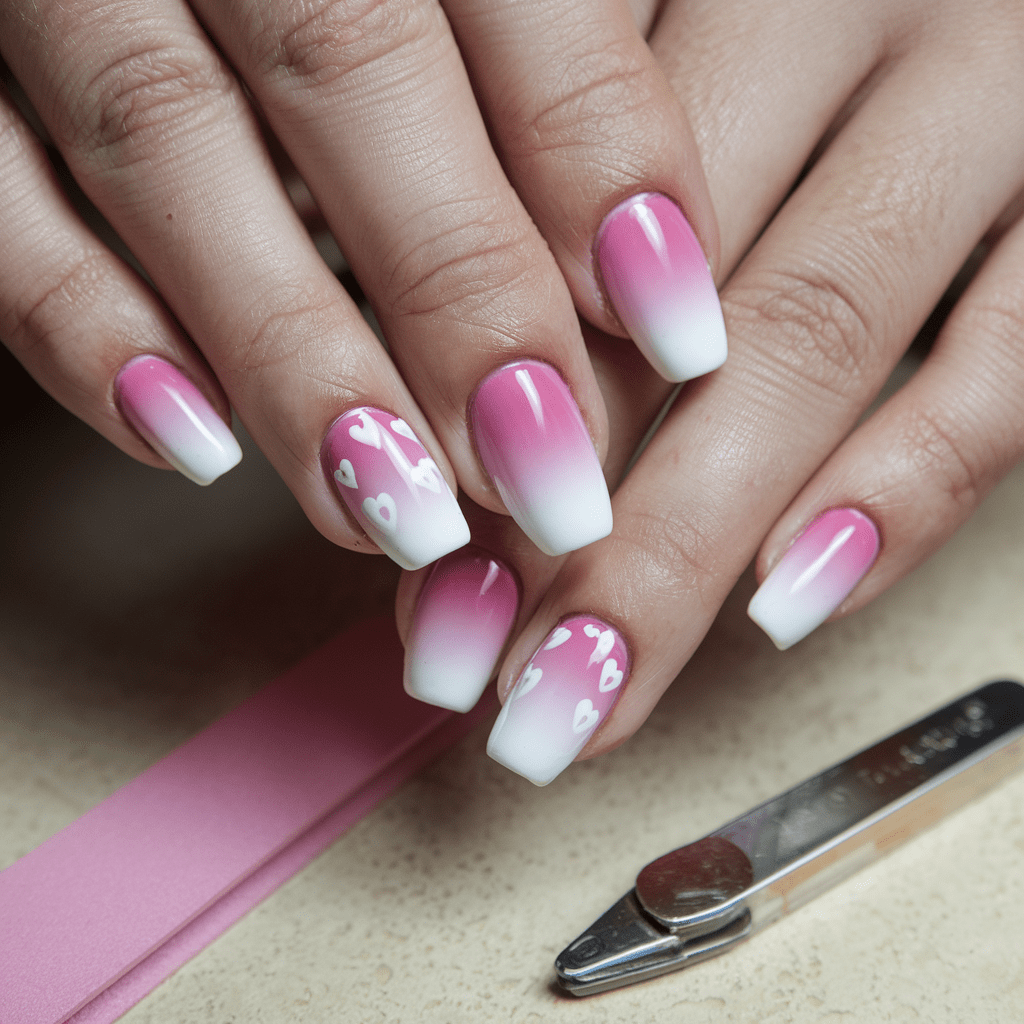
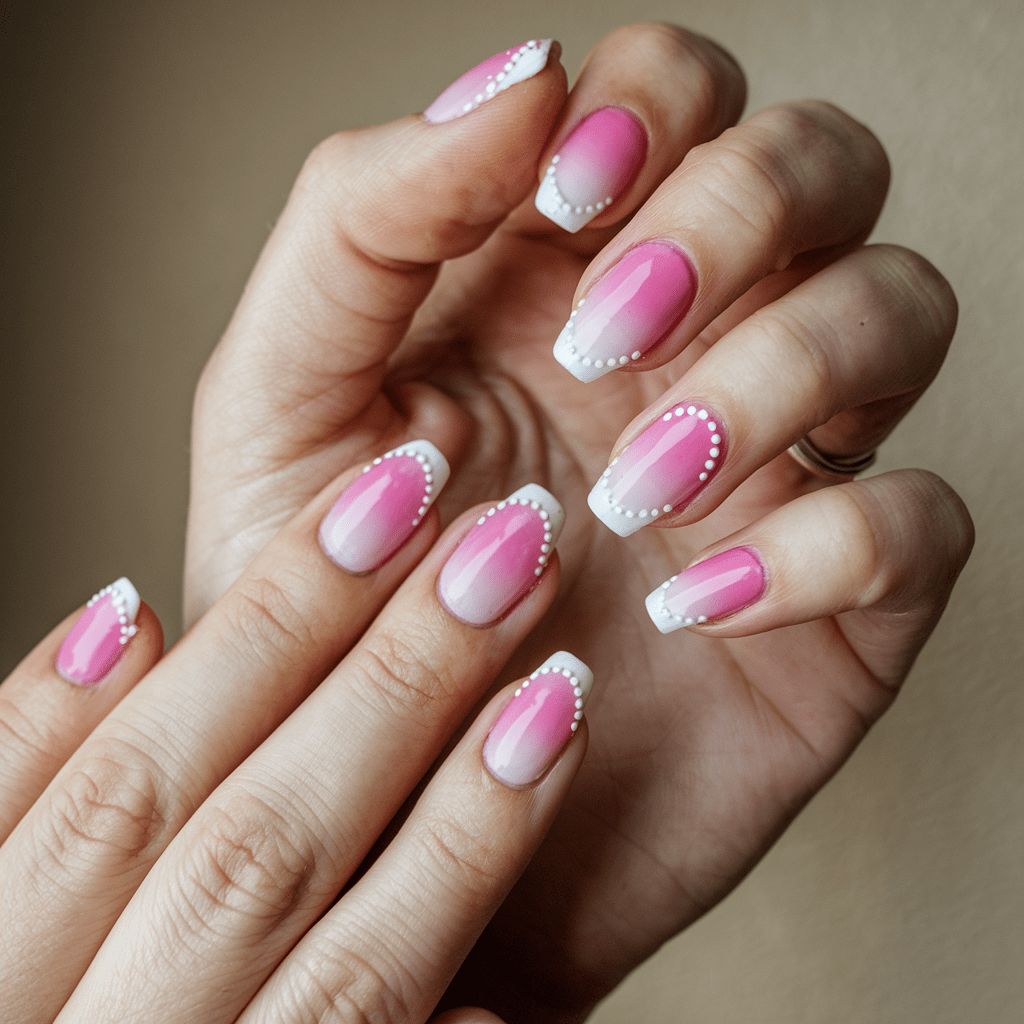
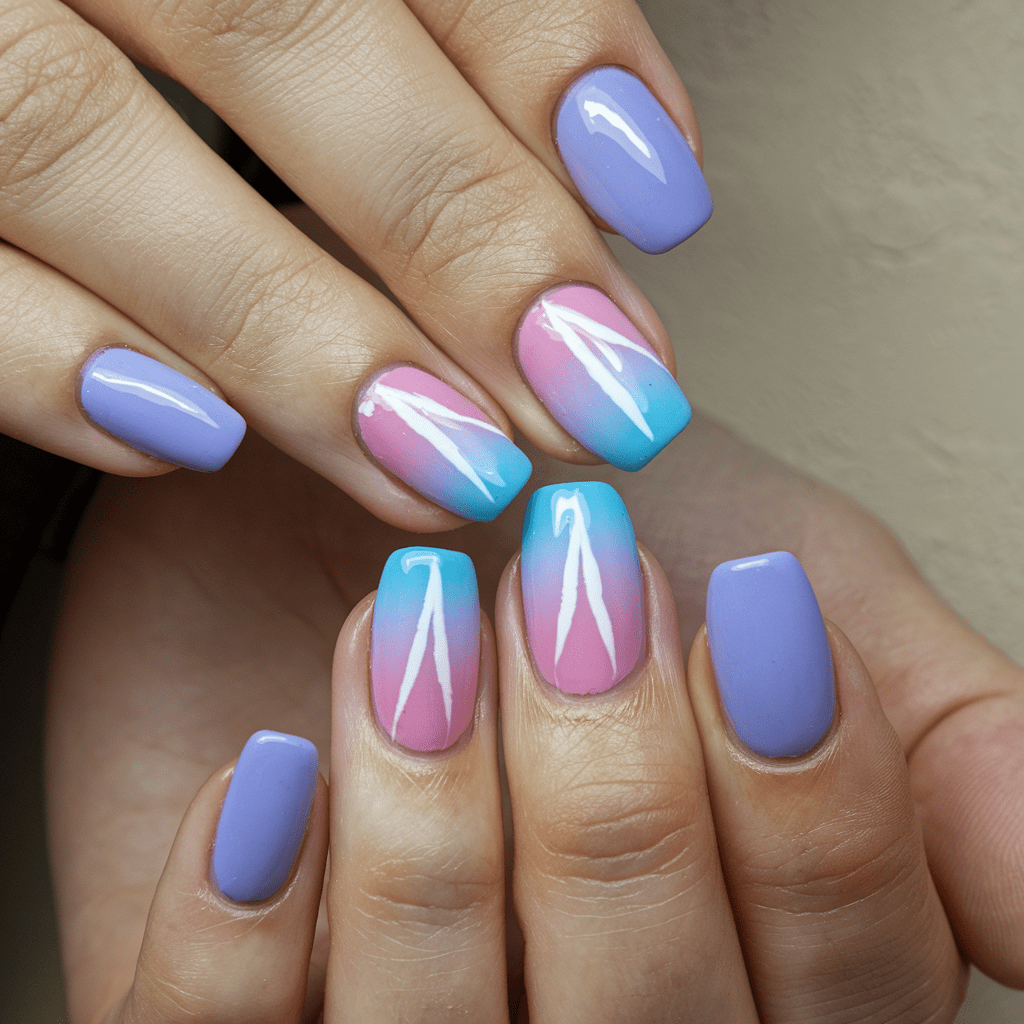
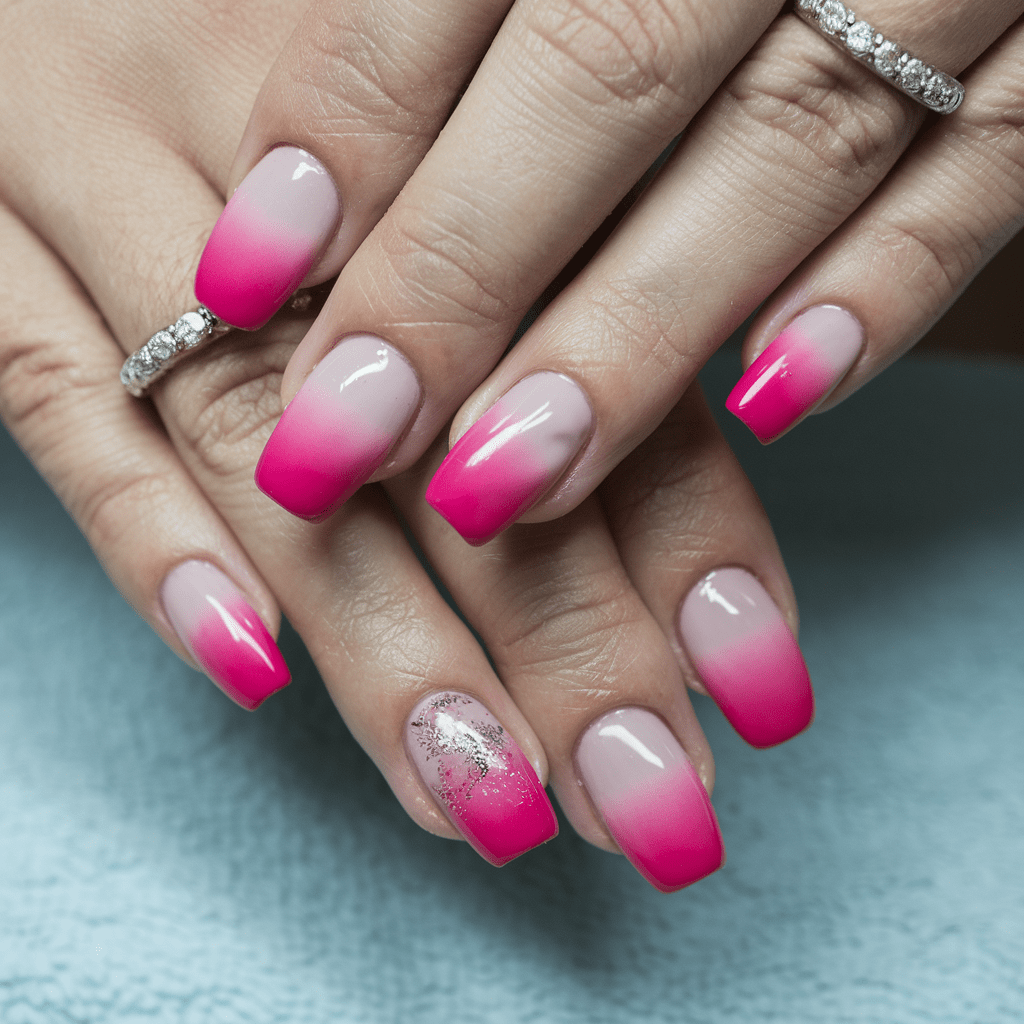
Wait.. here are some more designs..

Bottom Line
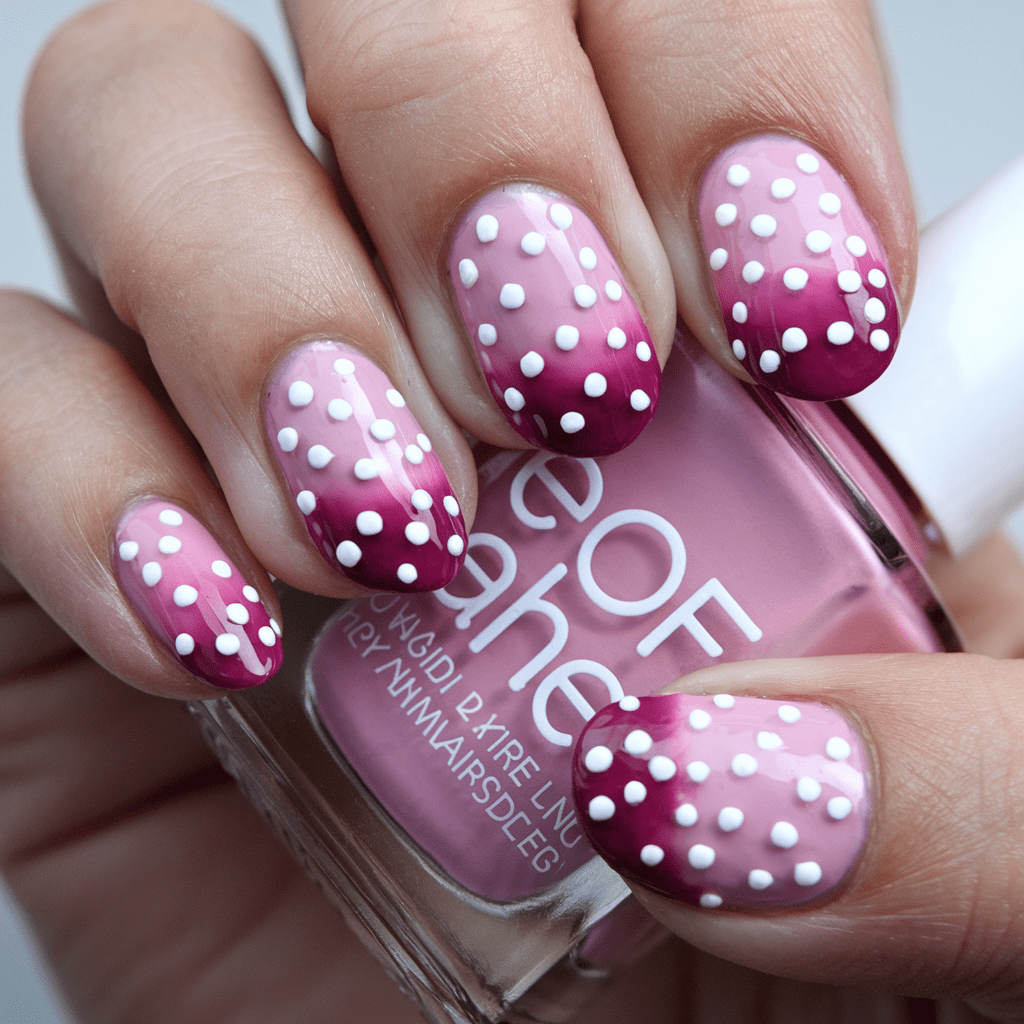
- Ombre, a type of color transition, is defined as the effect in which two or more hues meld together into one.
- In ombre, the white nail tips blend into a nude base over time.
- You may also create an ombre look with various hues, metallic tones, and glitter.
- You may also perform ombre nails without the sponge.
Read More:
![7 Best Liquid Latex for Nails [2026 Review]](https://magicalassam.com/review/wp-content/uploads/2022/05/Best-Liquid-Latex-for-Nails.jpg)