Covering a scab with makeup is completely doable — but only if you do it in the right order with the right products. Rush it or skip steps and you’ll end up with flaking, patchy coverage that draws more attention to the scab, not less.
Here’s the exact process, from prep to setting spray.
What You Need to Know Before You Start
Two rules before anything touches your face:
The scab must be closed. Never apply makeup to an open wound. If the scab is still weeping or actively bleeding, wait. Makeup over an open wound slows healing and raises infection risk.
The scab must be clean. Makeup applied over dirt or bacteria gets trapped against the skin. Always cleanse first.
If both boxes are checked, you’re good to go.
Why Scabs Are Hard to Cover
Scabs are raised, rough, and a different color than your surrounding skin — usually red, brown, or purplish. Standard foundation slides off the edges and settles unevenly on the texture. That’s why you need a specific layering approach rather than just dabbing on concealer and hoping for the best.
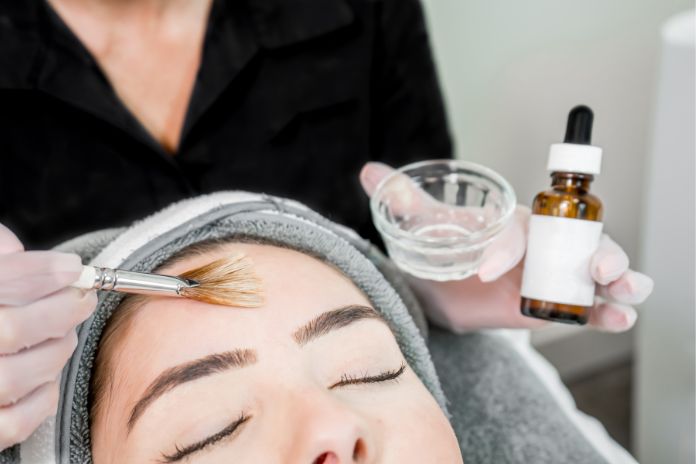
Step 1: Cleanse the Area
Gently wash the scab and surrounding skin with a mild, fragrance-free cleanser. Don’t scrub — just use your fingertip in light circular motions, then rinse with lukewarm water.
Pat dry with a clean towel. Do not rub.
Step 2: Moisturize
Apply a thin layer of a gentle, non-comedogenic moisturizer around (not directly on) the scab. This keeps the surrounding skin hydrated so your foundation blends smoothly instead of clinging to dry patches.
Let it absorb fully — about 60 seconds — before moving on.
Step 3: Apply a Primer
A silicone-based primer is the secret step most people skip. It fills in the rough texture of the scab and creates a smooth surface for concealer to grip onto.
- Gently pat (don’t rub) a small amount directly onto the scab
- Blend the edges into the surrounding skin
- Let it set for 2 minutes before the next step
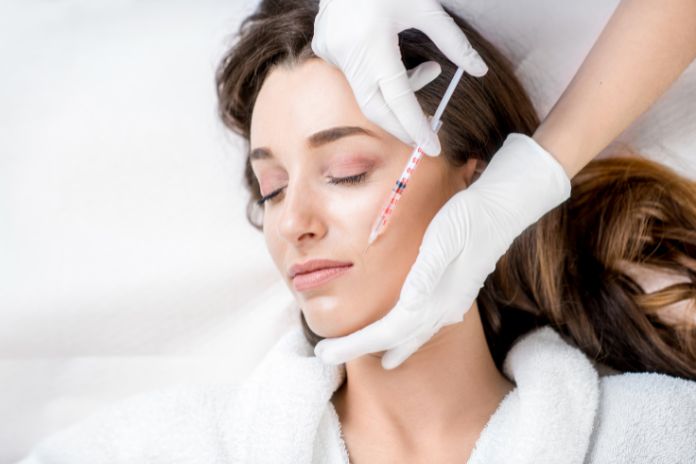
Step 4: Color Correct
This step cancels out the redness or discoloration before you even touch concealer — which means you need far less product overall.
- Red or pink scab — use a green color corrector
- Purple or bluish scab — use a peach or orange corrector
- Brown scab — you can often skip straight to concealer
Apply a tiny amount directly onto the scab with a small brush or clean fingertip. Pat gently to blend until the discoloration is visibly reduced. Let it dry for a few seconds.
Step 5: Apply Concealer
Choose a full-coverage, creamy concealer that matches your skin tone exactly. Stick or cream formulas work better than liquid here — they provide more coverage without sliding off the texture.
- Use a small flat brush or your fingertip
- Dab a small amount directly onto the scab
- Pat gently from the outer edges inward — never swipe or rub
- Build coverage in thin layers rather than one thick application
- Blend the very edges into the surrounding skin so there’s no visible line
If the scab is large, a heavy-duty concealer or a cream-based stage makeup product will give you the most coverage.
Step 6: Apply Foundation
Using a damp makeup sponge, apply your regular foundation over the entire area — including over the concealed scab — using light tapping motions.
This unifies the skin tone and makes the covered scab blend seamlessly with the rest of your face. Rubbing will lift the concealer you just applied, so stick to taps only.
Step 7: Set With Powder
This is what makes everything stay in place.
- Load a fluffy brush with a small amount of translucent setting powder
- Tap off the excess
- Gently press the powder over the scab — don’t sweep or drag
- Apply a light layer over the rest of your face as well
An oil-absorbing formula will keep everything in place longer, especially if your skin tends to get shiny.
Step 8: Finish With Setting Spray
Hold a setting spray 8–10 inches from your face and mist evenly over your entire face, including the scab area. This seals everything in place and prevents the makeup from shifting or flaking off the edges of the scab throughout the day.
For maximum longevity, choose a setting spray with a matte finish.
Tips for Making It Last All Day
- Carry a mini concealer and small brush for touch-ups
- Avoid touching the area — oils from your fingers break down makeup fast
- If the scab catches light and looks raised, a second light dusting of powder can help flatten the appearance
- Waterproof formulas for both concealer and foundation hold up much better if you’ll be sweating or near water
How to Remove Makeup From a Scab Without Damaging It
Removal matters just as much as application. Getting this wrong can pull the scab off prematurely.
- Use an oil-based makeup remover or micellar water on a cotton pad
- Press gently onto the area and hold for a few seconds — let the remover dissolve the makeup rather than wiping
- Dab softly to lift the product off, never rub
- Rinse with lukewarm water and pat dry
- Follow with a gentle cleanser and moisturizer
Never pick at makeup that’s stuck to a scab. Soak it off instead.
FAQs
Is it safe to put makeup on a scab? Yes, as long as the scab is fully closed and not an open wound. Always cleanse first and avoid pressing hard on the scab during application. If you notice any redness, swelling, or signs of infection around the scab, skip the makeup and see a doctor.
What concealer is best for covering a scab? A full-coverage cream or stick concealer works best. Liquid formulas tend to be too thin to cover the texture and color of a scab effectively. Look for formulas described as “full coverage” or “blemish concealing.”
Will makeup slow down the healing of my scab? It can if you’re not removing it properly each night, or if you’re using pore-clogging products directly on the scab. Remove makeup thoroughly every evening, let the scab breathe overnight, and avoid picking at it. Healing time shouldn’t be significantly affected when you follow proper prep and removal steps.
What if my makeup keeps sliding off the scab? The most common reason is skipping primer. The raised, uneven texture of a scab gives makeup nothing to grip onto without it. A silicone-based primer fills in the texture and makes concealer adhere properly. Also make sure you’re patting — not rubbing — your products on.
Can I cover a scab on my lip or near my mouth? Yes, with extra care. Use a lip-safe concealer or a product specifically formulated for use near the mouth. Avoid getting product into any cracks in the scab and be especially gentle with removal in this area.