
Here’s the fear every bride with a bold makeup vision knows.
You’ve saved the inspiration photos. You know what you want — a deep smoky eye, a real red lip, graphic liner that means something. But somewhere between the Pinterest board and the trial appointment is a creeping worry: what if it looks overdone in the photos? What if the flash washes out the color you spent hours perfecting? What if the shimmer that looked stunning in the mirror turns into a blinding hot spot in every portrait?
These are real concerns, and they’re worth taking seriously. Flash photography does change how makeup reads. Natural light does flatten certain finishes. Video does pick up things still photography forgives.
But here’s what’s also true: bold and photogenic are not opposites. The most striking wedding photos — the ones that stop you mid-scroll — almost always feature makeup with intention. Color that commits. Definition that holds. A look that was built to perform, not just to look pretty in the dressing room mirror.
The difference isn’t between bold and subtle. The difference is between bold that understands the camera and bold that doesn’t.
Here’s everything you need to know to make your boldest look your most beautiful one.
The Bold-Photo Rule
Before you plan a single product choice, you need to understand how light and cameras change what makeup looks like — because they do, and significantly, and in different directions depending on the situation.
How Flash Photography Changes Your Makeup
Flash photography is the most dramatic translator of all. It compresses depth, flattens shadow, and creates a sudden, intense burst of white light that hits every surface of the face simultaneously. What this means in practical terms:
Shimmer and glitter amplify dramatically. A subtle shimmer that looks delicate in candlelight becomes a blown-out highlight in flash. This isn’t always bad — a well-placed shimmer on the center of the lid can become genuinely beautiful in flash — but uncontrolled shimmer anywhere on the face (on the nose, on the inner corner when overdone, across the cheekbones in excess) becomes visual static.
Dark shadow deepens. A smoky eye that looks wearably dramatic in person will read even more intense in flash. This is actually useful information: you can sometimes apply less and have it read as more in photos. If your MUA is building a look specifically for photography, they may apply slightly less product than you’d expect during the trial — trust that.
SPF is the enemy. Any product containing SPF — including many setting powders, primers, and foundations — contains particles that reflect UV light. In flash photography, this creates a distinct white cast or “flashback” around the face, most visible in darker skin tones. Check every product in your look for SPF, particularly powders, and choose SPF-free alternatives for photography days. This is non-negotiable.
How Natural Light Changes Your Makeup
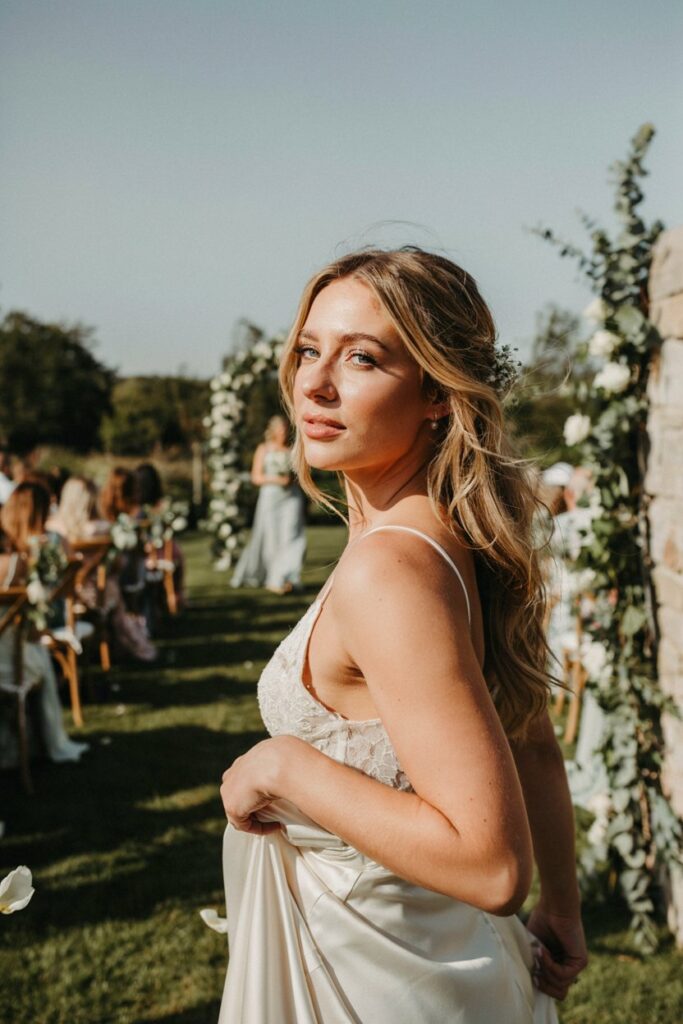
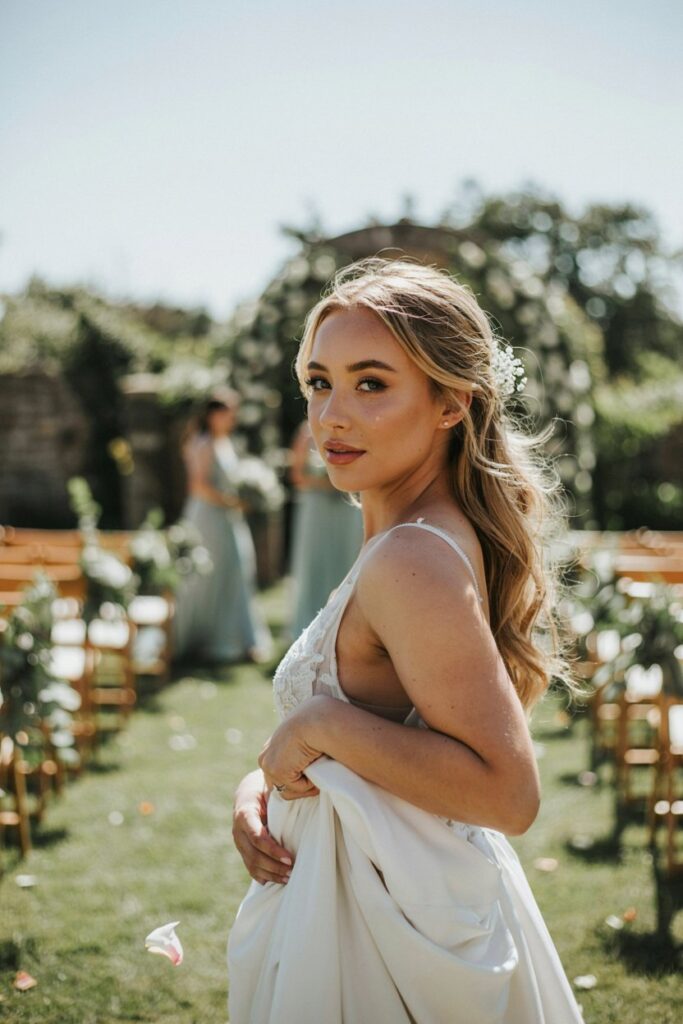
Natural light is softer and more forgiving than flash, but it has its own effects. In bright, direct sunlight (outdoor ceremony, outdoor portraits), matte finishes tend to disappear and color can wash out significantly — the makeup that looked defined indoors can look barely-there in direct midday sun. This is why bold looks for outdoor weddings actually need more pigment and more definition than you might expect.
In soft, indirect natural light (golden hour, overcast sky, shaded outdoor settings), makeup reads closest to how it looks in person. This is the most forgiving light for photography, and it’s when bold looks tend to photograph most beautifully. If you have control over when you schedule your portrait session, golden hour — the hour before sunset — is where bold makeup and natural light meet at their best.
How Video Changes Everything
Videography is increasingly part of wedding documentation, and it changes the calculation in a few specific ways. Video is more continuous and intimate than photography — there’s no single flattering frame, just the ongoing reality of how you look in motion and in conversation. For video, the rules that matter most are: skin texture over color (foundation and concealer that sit naturally on the skin, not heavy layers), controlled shimmer (no chunky glitter), and liner that doesn’t smudge over a full day, because video catches everything, including the 6pm version of your 9am liner.
Eye Looks That Photograph Beautifully
Each of the most popular bold eye looks has specific adjustments that make it work on camera. Here’s what to know about each.
The Smoky Eye
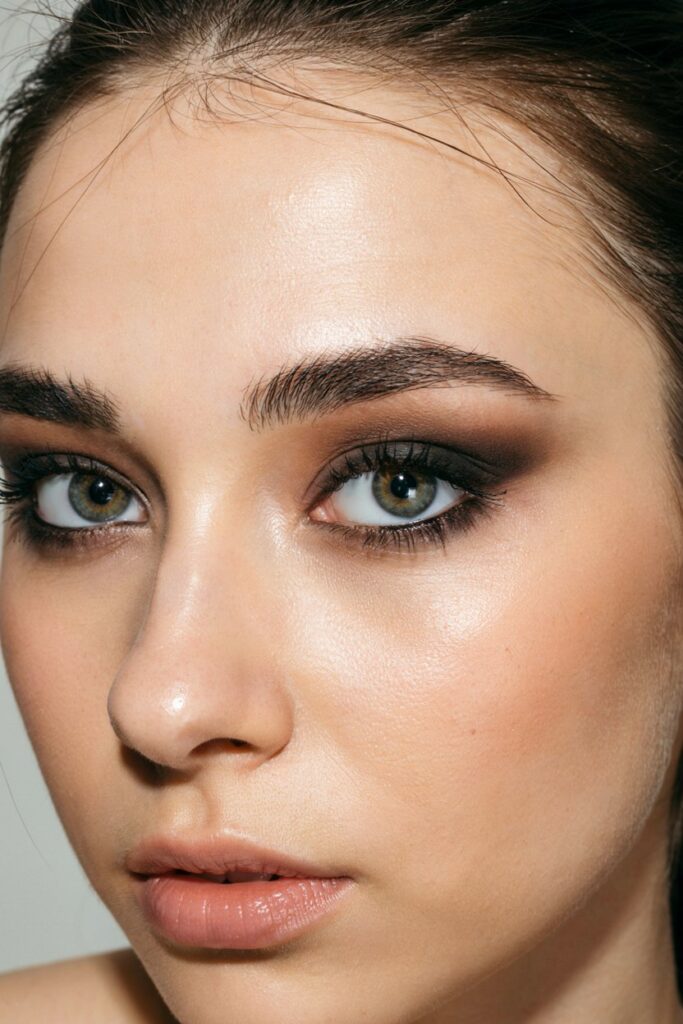
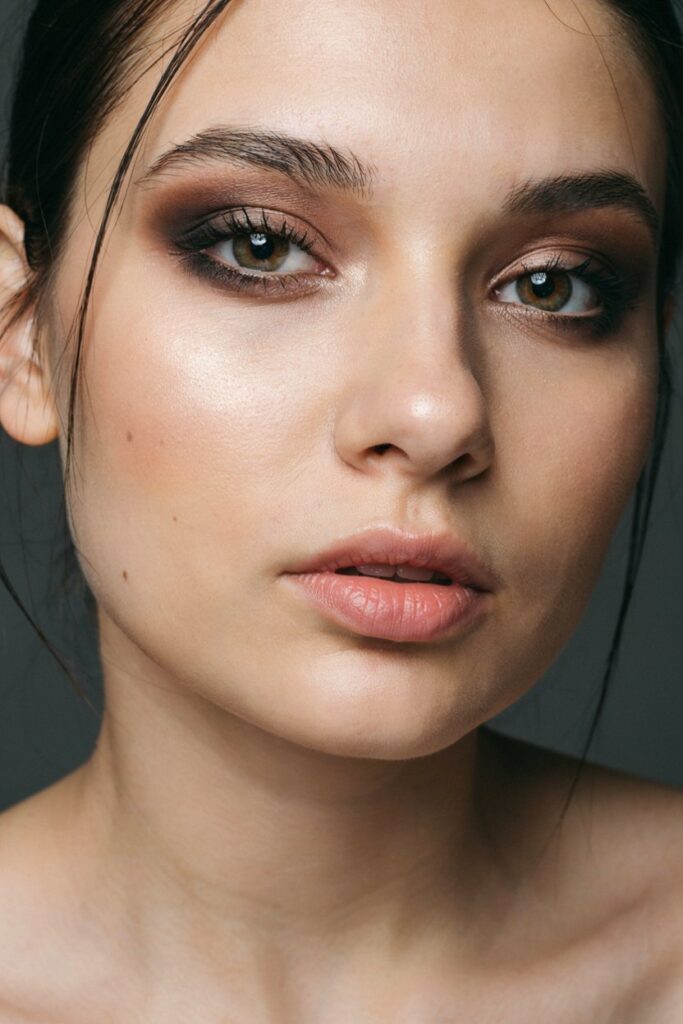
The smoky eye is the bold look most likely to succeed in photography because its defining quality — seamless blending of dark to light — actually works in its favor under flash. The graduated transition reads as depth rather than harshness, and a well-blended smoke creates the appearance of dimension even when flash flattens shadow.
What to adjust for photography:
- Use matte or low-shimmer formulas for the base shadow and transition shades. A very shimmery smoke can become chaotic in flash, with light bouncing unpredictably across unblended edges. Reserve shimmer for the center of the lid only — one strategic placement looks intentional; shimmer everywhere looks uncontrolled.
- Go deeper than you think you need to. For photography specifically, build pigment more intensely than you would for everyday wear. The compression of flash and the flattening of natural light will reduce the apparent depth of your smoke, so what feels like “a lot” in the mirror will read as “beautifully dramatic” in photos.
- Blend more than you think you need to. Hard edges in a smoky eye that look edgy in person become mistakes in high-resolution photography. A beautifully blended smoke has no visible beginning or end — just seamless graduation.
- Set the look with a fine powder to lock everything in place, especially in the crease. Movement and humidity will disturb even the most carefully applied shadow, and video doesn’t forgive transfer.
The Cut Crease
A cut crease is inherently photogenic because it creates a visual distinction that the camera can read clearly — the defined line between lid color and crease color is exactly the kind of intentional graphic element that flash photography captures well.
What to adjust for photography:
- The cleanliness of your cut line matters more in photography than in any other context. A slightly imprecise cut crease that looks acceptable in person becomes obviously uneven in close-up photography. Take the time at your trial to establish that the line is precise and symmetrical. Use a flat brush and concealer or primer to carve the edge cleanly.
- Choose lid shades based on how they perform under flash, not just how they look in the pot. Metallic and foiled finishes on the lid are generally beautiful in photography — they create a clean, intentional pop of light rather than scattered shimmer. A champagne or bronze metallic cut crease photographs extraordinarily well.
- Avoid matte black in the crease if you want definition that reads on camera — a very deep plum, brown-black, or navy actually photograph with more dimension than flat black, which can create a void rather than a shadow.
- Keep the undereye clean. A cut crease draws attention upward, but any smudging or darkness under the eye will read clearly in close-up photos. Thoroughly concealed undereyes and a light set with a fine powder underneath are essential.
Graphic Liner
Graphic liner is the most editorial of the three looks and the most sensitive to photography conditions. A precisely executed graphic look is breathtaking in photos. A slightly imprecise one is significantly more visible at camera distance than it would be in person.
What to adjust for photography:
- Precision is everything, and the standard needs to be higher than you might apply to yourself on a regular day. For a graphic liner look at a wedding, the lines need to be clean enough to read clearly in a close-up portrait. Practice is essential; if your MUA isn’t someone who does graphic liner regularly, find one who does.
- Formula matters significantly. Gel liner applied with a fine brush provides the most control and durability. Liquid liner is second. Felt-tip liner pens work for some graphic looks but are harder to control at the required precision level. Pencil liner is not appropriate for graphic shapes — it smudges too readily and doesn’t hold its edge.
- Color choice for graphic looks: black is the most graphic and photographs most crisply, but deeply pigmented colors — forest green, navy, burgundy, wine — photograph beautifully and add an unexpected dimension that reads as sophisticated rather than costume-like. Pastels and lighter colors require more precision and may wash out in bright natural light.
- Photographically, one graphic element is stronger than multiple. A single bold wing, one graphic undereye line, or a clean floating liner in the crease — one thing, fully committed to. Multiple graphic elements compete for attention and can read as chaotic in photos even when they look balanced in person.
Lip Colors That Last Through Ceremony and Cocktail Hour
A bold lip at a wedding has a specific problem that bold lip looks don’t have in daily life: duration. You need a color that holds through the ceremony (including emotional moments involving tissues), through cocktail hour, through dinner, and through at least some of the dancing — without requiring a mirror and a set of tools to maintain it.
The Formula Hierarchy for Wedding Lip Longevity
Liquid matte lipsticks are the gold standard for all-day bold color at a wedding. They apply as a liquid and dry to a matte film that genuinely does not move, transfer, or significantly fade for 6–8 hours. They require precise application (use a lip brush and go slowly) and some formulas can dry uncomfortably over a full day, so test yours at your trial and have a lip balm available to apply around the lip line if needed. Charlotte Tilbury Pillow Talk Matte, Stila Stay All Day, and NYX Lip Lingerie XXL are all excellent formulas in this category.
Satin and soft matte formulas are the middle ground: they wear better than cream lipsticks, feel more comfortable than liquid matte, and hold for 3–4 hours before needing a touch-up. These are a good choice if comfort is a priority, if you’re comfortable carrying a lip product for touch-ups, and if your lips tend to feel painfully dry in liquid matte formulas.
Cream and bullet lipsticks, regardless of how beautiful they are, are not appropriate as the primary formula for a wedding lip that needs to last. They transfer readily, they fade unevenly, and they require frequent reapplication. If you love the finish of a cream lipstick, layer it over a matching lip liner applied across the entire lip — this technique significantly extends the wear time of cream formulas by giving the pigment something to adhere to.
Specific Colors and How They Photograph
Red: The most classic bold wedding lip and one of the most photogenic. A true red — neither too orange nor too blue-based — photographs crisply and creates a clear focal point on the face in both flash and natural light. Blue-based reds (think Chanel Rouge Allure in Pirate, MAC Ruby Woo) tend to photograph most cleanly because they don’t pick up warmth from flash in the same way orange-leaning reds can.
Berry and wine: Deeply photogenic, particularly in indoor and low-light settings. These colors read as sophisticated and intentional in photography and don’t require the same level of precision as a true red. A deep berry is one of the most forgiving bold lip shades for photography because it has enough pigment to show clearly while being slightly more forgiving of application imprecision than a sharp red.
Nude-bold (deep nude, brown-based neutral, warm caramel): A somewhat underrated category for bold wedding lips. A genuinely deep nude — not pale, but a warm-toned brown or rose-brown — photographs as a statement while reading more naturally than a red or berry. This is an excellent choice if you want your eye look to be the primary focal point and the lip to support rather than compete.
Coral and orange: Beautiful in natural light and can be genuinely striking in golden hour photography. Be cautious with flash, which can amplify warm tones unpredictably. If you want a coral or orange lip, test it specifically under flash at your trial and adjust if the color shifts significantly.
The Line-First Technique
Regardless of your chosen lip color or formula, apply lip liner first — not just around the edge, but filling in the entire lip surface as a base. This creates a layer of pigment that remains even if your lipstick wears away, which means the color fades more evenly rather than disappearing from the center first. Match your liner precisely to your lip color, or use a slightly deeper shade for a subtle ombre effect that photographs beautifully.
Setting Techniques for an All-Day Bold Look
Even the most carefully chosen products will not hold through a full wedding day without proper setting technique. This is the step most tutorials underemphasize, and it’s where bold looks are lost most often.
Foundation Setting
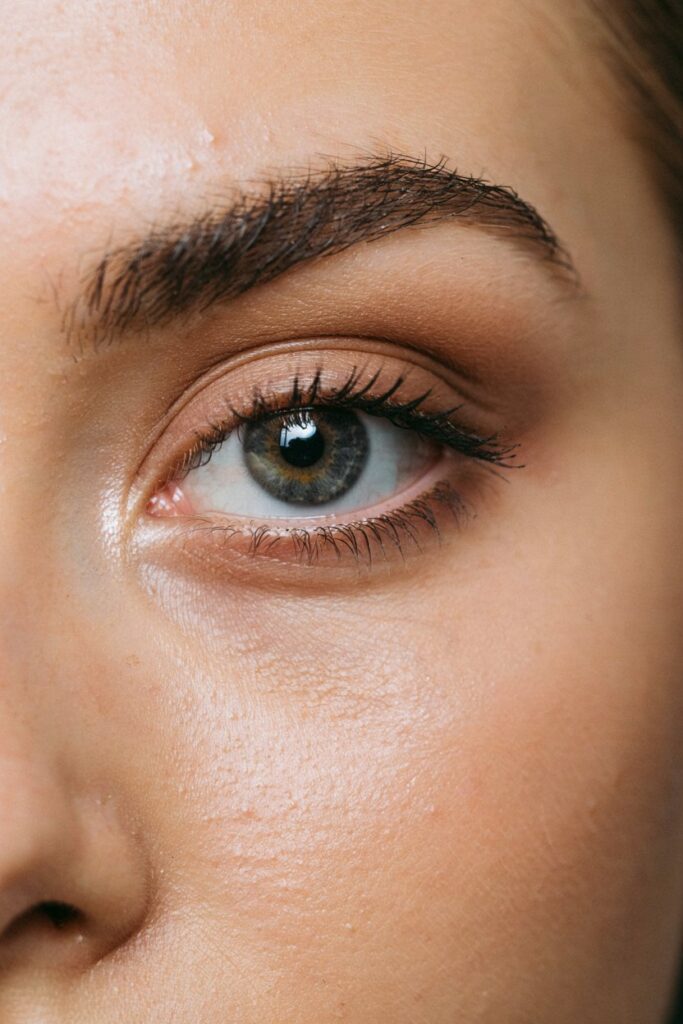
Set your foundation with a translucent setting powder that is explicitly SPF-free. Apply it with a large fluffy brush across the full face, then press — don’t sweep — an additional layer with a damp beauty sponge or a powder puff. This pressed layer creates a significantly more durable set than sweeping alone. Pay particular attention to the areas most likely to show wear: the nose, the corners of the mouth, the forehead, and the undereye area.
Eye Setting
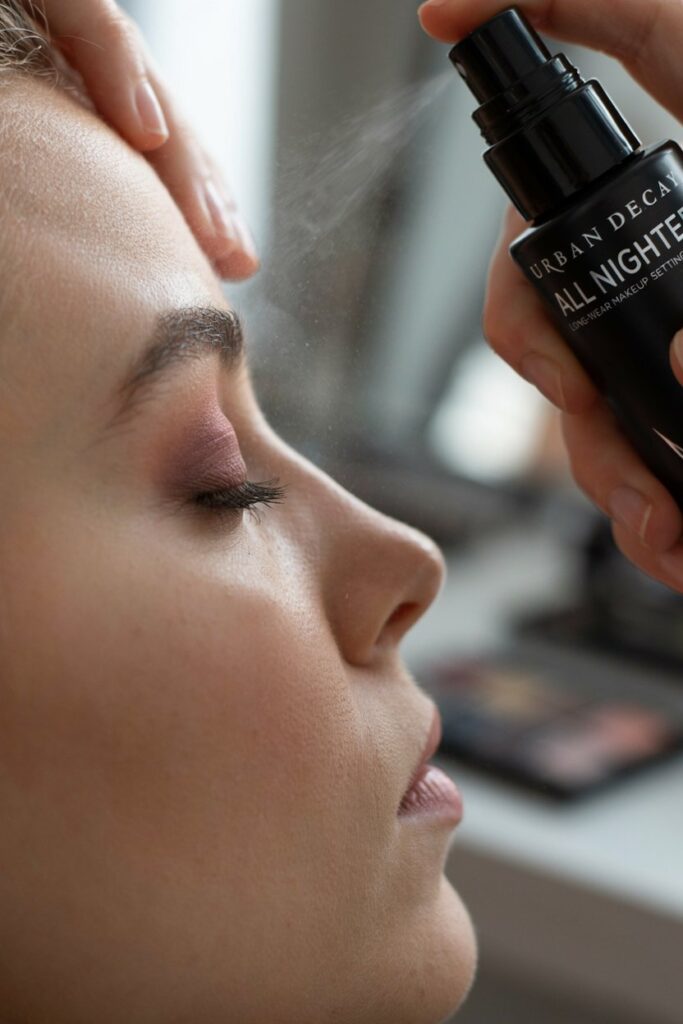
A setting spray applied over finished eye shadow before moving to liner dramatically increases how long the shadow holds without creasing. Urban Decay All Nighter and the MAC Fix+ are consistently performer in this category. Mist the shadow while it’s still slightly warm from your fingers (the natural temperature of recently blended shadow helps the setting spray bond). Let it dry completely before applying liner over the top.
For liner longevity — particularly graphic liner — apply a thin layer of translucent powder under where the liner will go, apply the liner over it, then apply a tiny amount of powder very gently over the liner using a fine flat brush. This sounds excessive and is one of the most effective things you can do to keep liner from smudging over a 10-hour wedding day.
Lip Setting
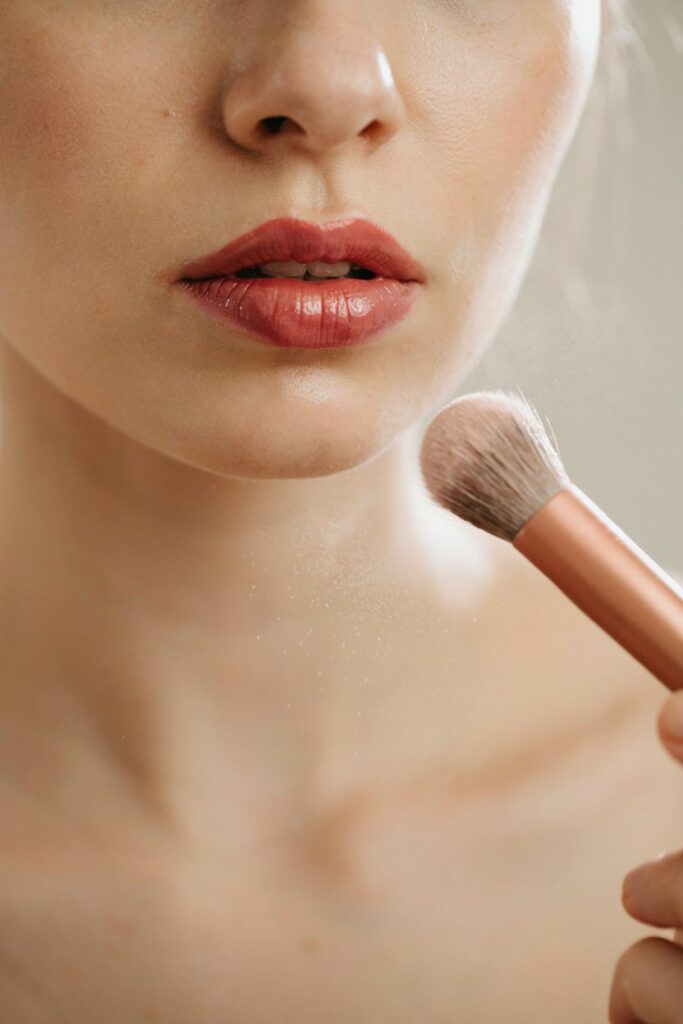
For liquid matte lips, let the formula dry completely (usually 60–90 seconds) before pressing lips together or speaking. If the formula isn’t fully dry before movement, it will crack or smudge at the line. After drying, dust a very fine layer of translucent powder over the lips using a fluffy brush — this helps the surface resist fading from moisture.
For cream or satin formulas, the line-first technique described above plus a setting powder pressed lightly over the lips after application will significantly extend wear. Blot once with a tissue, then reapply one layer, then set.
The Setting Spray Finish
After everything is set and complete, finish with a full-face misting of a long-wear setting spray. Hold the bottle 8–10 inches from the face and use a figure-eight motion rather than a direct spray. This final step seals the entire look together, reduces the “made up” appearance that can read as heavy in photography, and genuinely extends wear by 2–3 hours in most conditions.
Have your MUA pack: a small pot of your lip color for touch-ups, a powder compact for the T-zone, and a fine eyeliner for liner repairs. These three items handle 95% of makeup emergencies over the course of a wedding day.
Questions to Ask Your MUA Before Your Trial
Your makeup trial is not just a test run — it’s the conversation that ensures the look you want and the look you get are the same thing. Come to it with these questions ready.
About photography specifically:
- Have you worked with my photographer before, or do you know their typical lighting conditions and flash setup?
- What products are you planning to use that contain SPF, and what are the alternatives?
- How does this look change under flash versus natural light, and will you adjust the application for each scenario?
- Can we photograph the look in both indoor artificial light and natural light during the trial?
About the specific look:
- What finishes are you using for each element of the look, and why?
- How would you describe the longevity of each product you’re planning to use?
- What’s your setting technique for a look with this level of pigment?
- If the temperature is high or it’s a humid day, what adjustments do you make?
About the day itself:
- How long will application take, and what’s the recommended order for the bridal party?
- What products should I have available for touch-ups, and how do I do them without disturbing the set look?
- If something needs adjusting during the day, what’s the best way to fix it without starting over?
About your instincts:
- I want [describe your specific vision] — is there anything about that look that concerns you photographically?
- What would you do differently about this look if we were optimizing purely for photographs versus purely for how it looks in person?
- Is there anything you’d recommend adding or changing based on my skin type and tone that would help it last and photograph well?
A skilled MUA will have clear, specific answers to all of these. If the answers are vague or dismissive — if they tell you not to worry about it, or that it’ll be fine without explaining why — that’s information. Find someone whose expertise matches your ambition.
Bold is the right choice. Make sure the execution is worthy of it.
![9 Best Face Wash for Skin Whitening [Tested and Reviewed]](https://magicalassam.com/review/wp-content/uploads/2021/06/Best-Face-Wash-for-Skin-Whitening.jpg)